Overdue big update – grip it and flip it

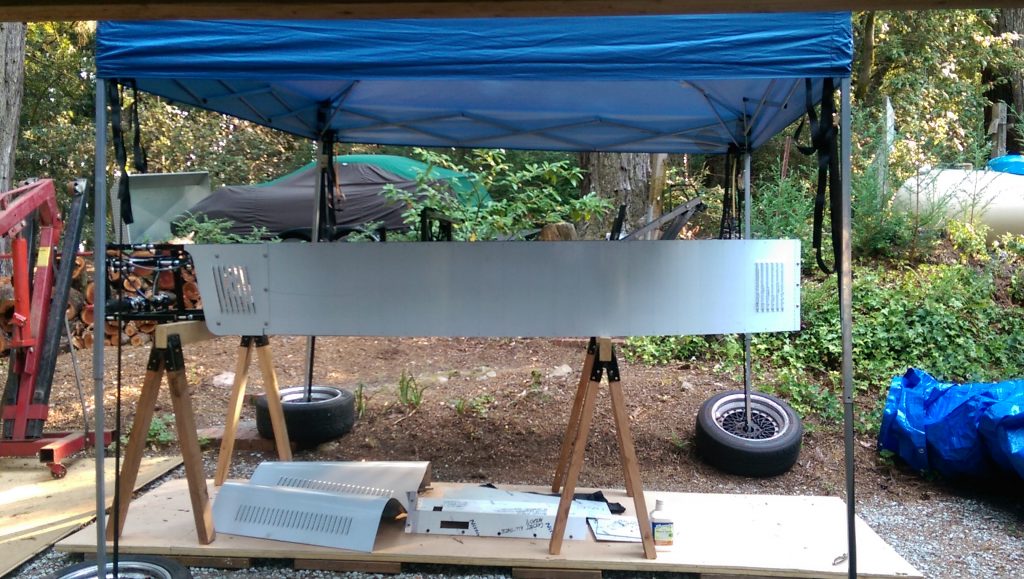
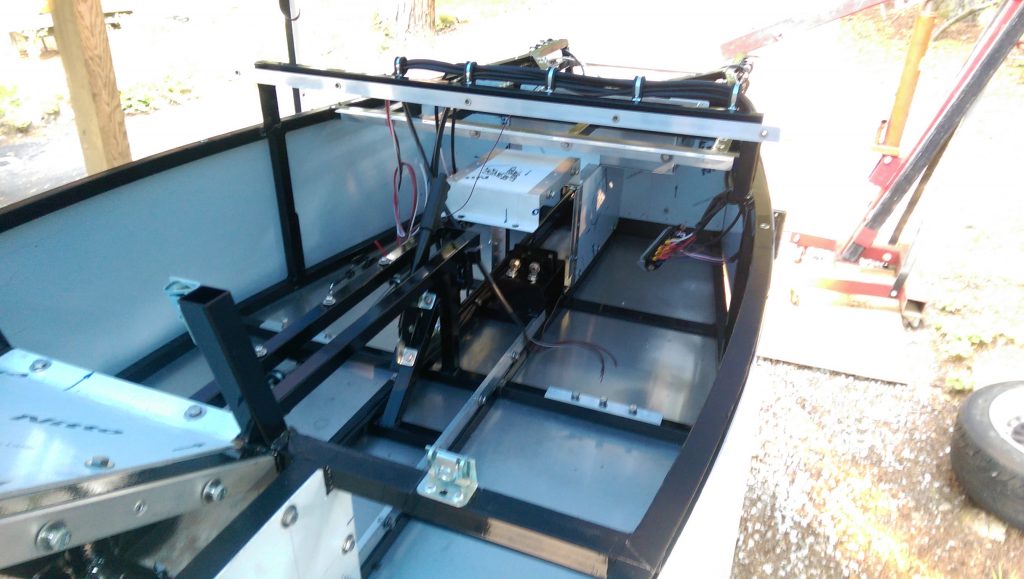
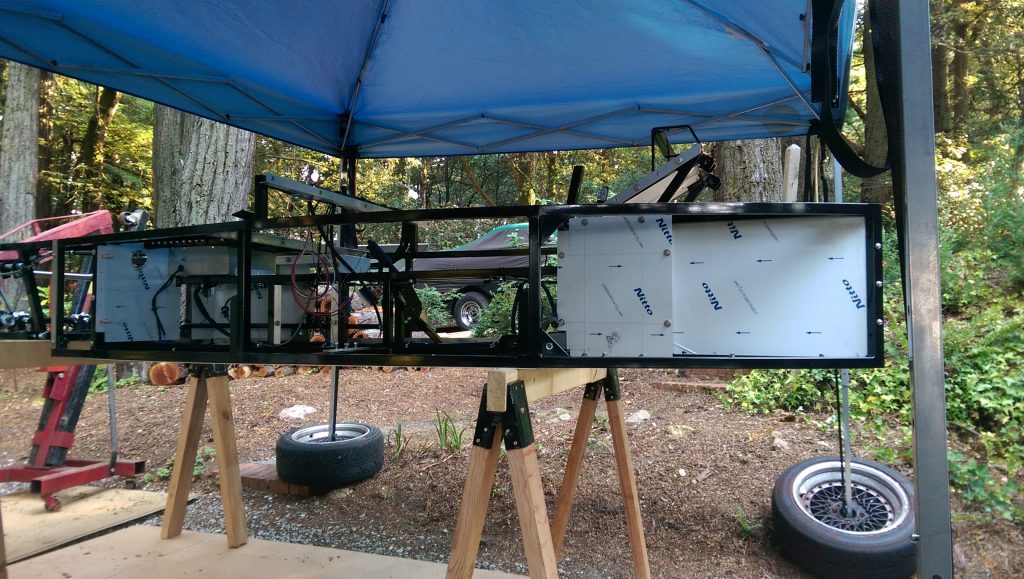
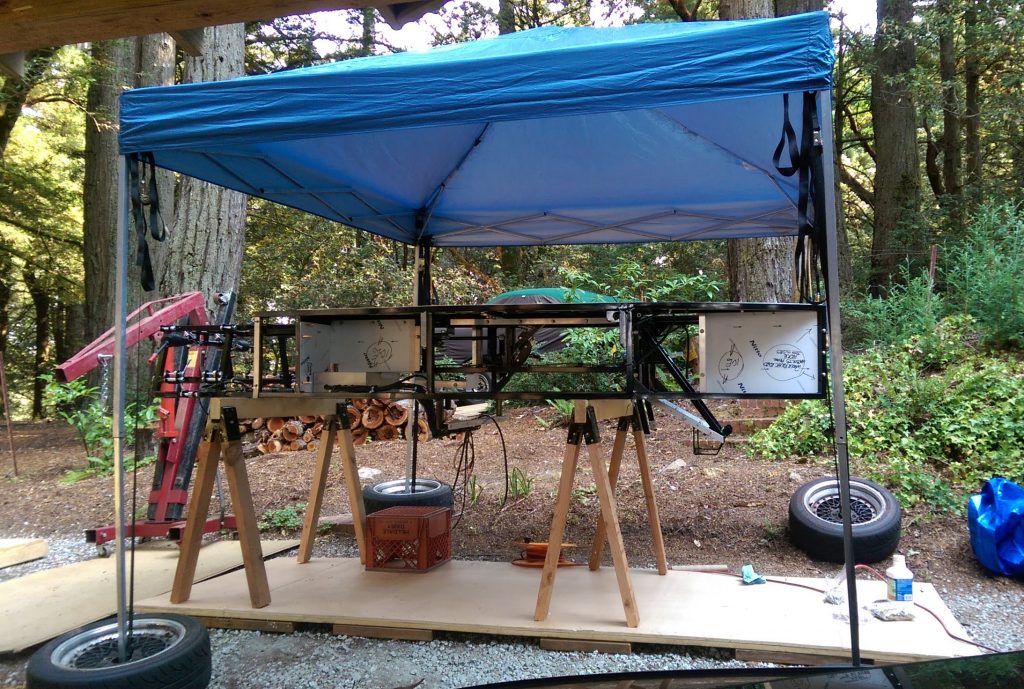
The next step in this process is to strip the chassis down so it can be flipped over to attach the floor.  All body panels come provisionally fitted to ease in shipping, but also provide an indication of where everything goes.  So disassembly takes some time, mainly as you familiarize yourself with what everything is and where it goes.

IMG_20160820_085033

IMG_20160820_085055

IMG_20160820_091423

With the chassis light enough to flip, we flip it over.

IMG_20160821_102115

Arthur provides build notes, and they are very useful.  Indeed, when you take the floor off to prepare for permanent attachment, there are a number of interior panels that will also be riveted, and the holes are much easier to drill at this time.  So any interior panel that’s provisionally riveted will need to have all the holes drilled before the floor goes on.  Really only the ones at the floor level (since you can’t get a drill in there otherwise), but best to just do them all so you don’t have to keep track of which have been drilled and which haven’t.

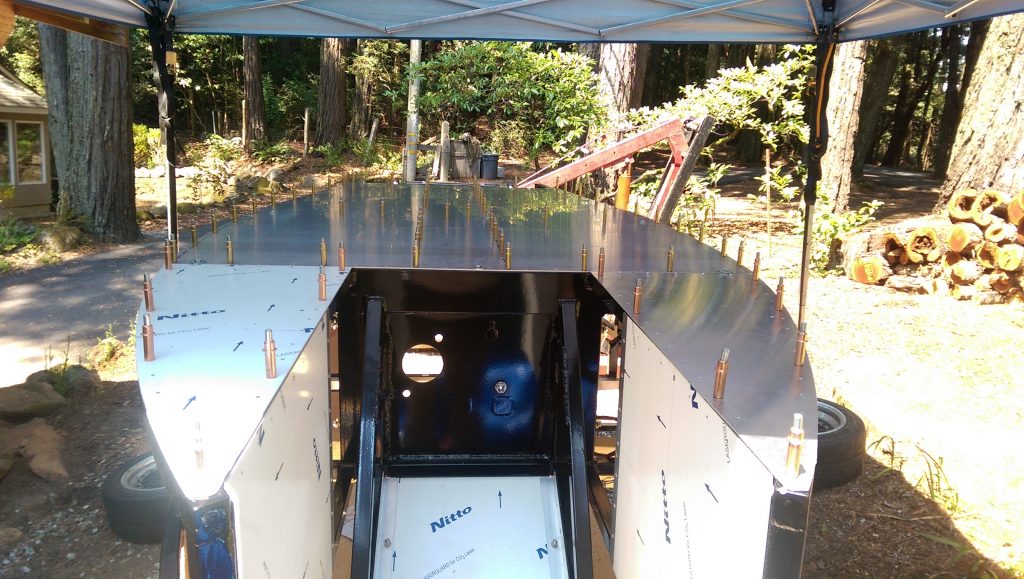
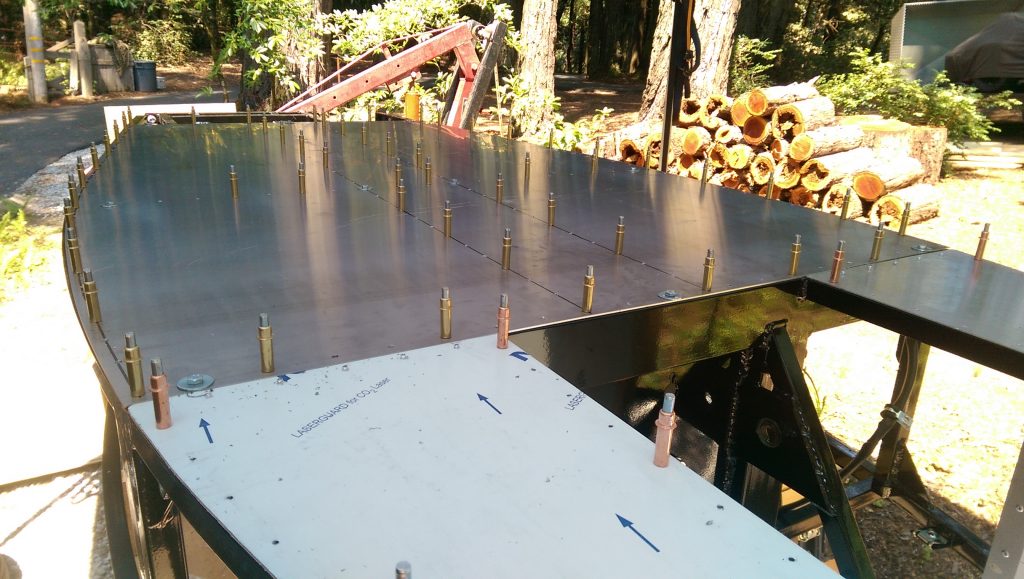
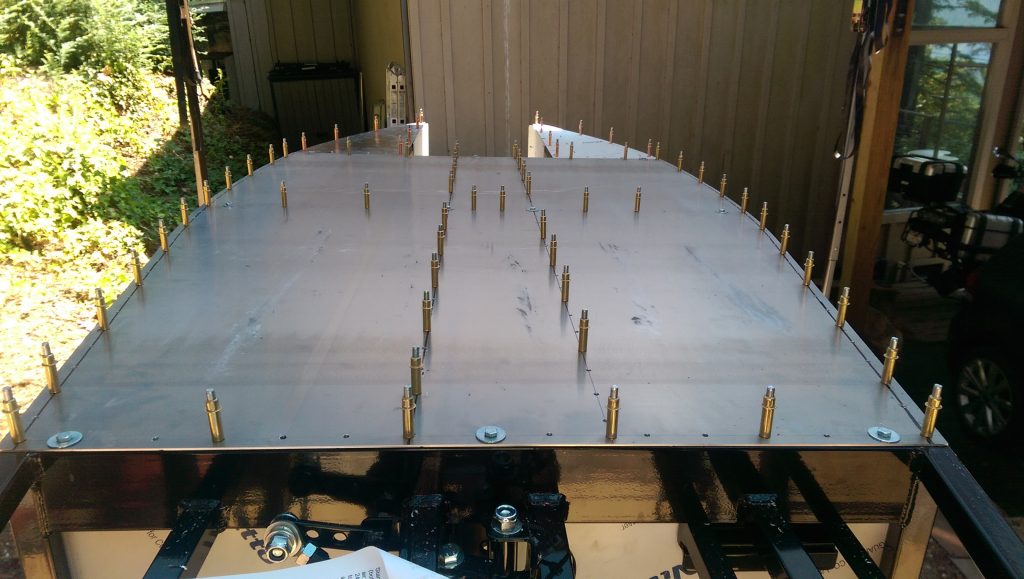
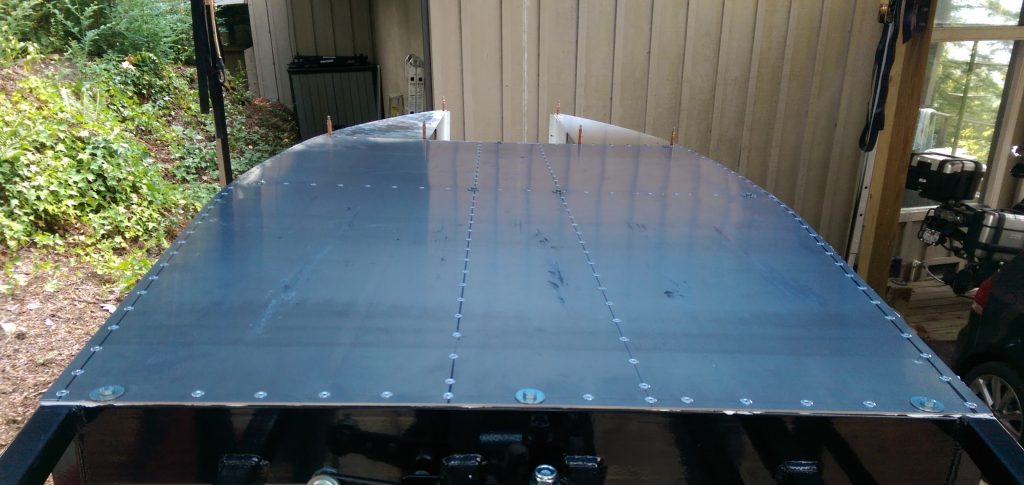
Using Clecos, we progressively drill and secure the floor so things don’t move as we go.

IMG_20160820_131712

IMG_20160820_131720 \IMG_20160820_131735

And after many, many hours of drilling, deburring, reaming, checking, etc, the job is done.

IMG_20160821_092910

Noise abatement

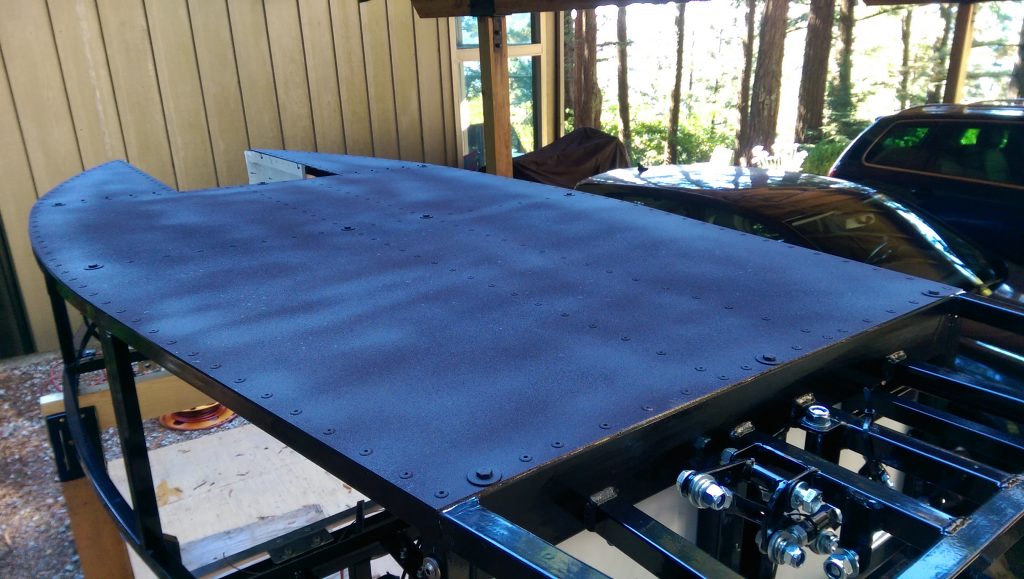
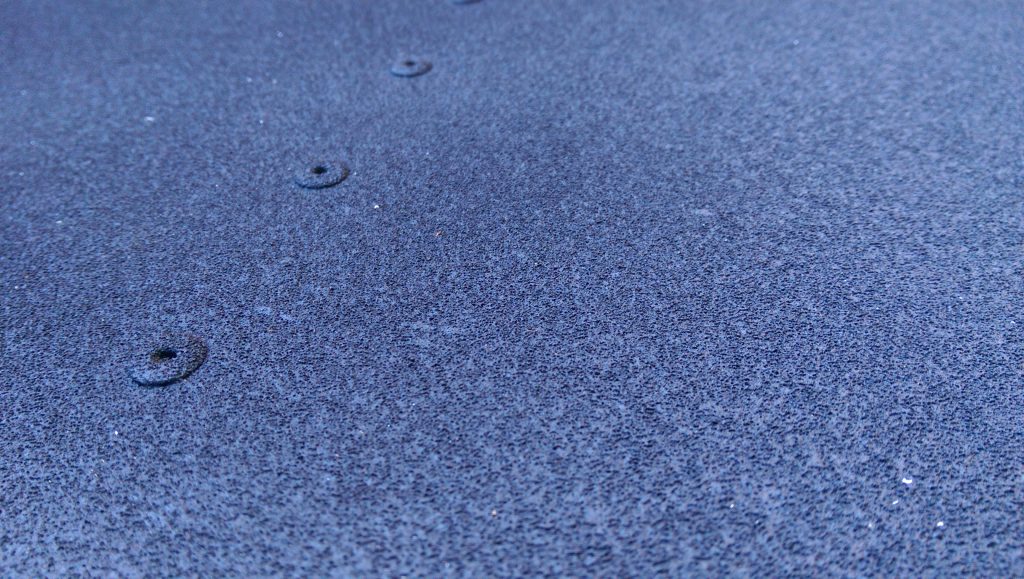
Before we flip her back over, took a swing at using Duplicolor rubberized undercoat to help deaden sound of pebbles and rocks bouncing off the underside.  Not bad for aerosol can application.  I may use this in the rear wheel area as well.

IMG_20160902_100021

IMG_20160902_100030

Assembly begins

So we righted the ship, and the assembly process can begin.

In effect, you will need to disassemble nearly the entire chassis – if only to finish the panels and/or remove the plastic backings that coat the aluminum from the laser cutter.

Further, I live in a high moisture environment, and am concerned about oxidation of the aluminum panels – so my goal is to methodically ensure that any panels that are exposed to moisture get treatment.

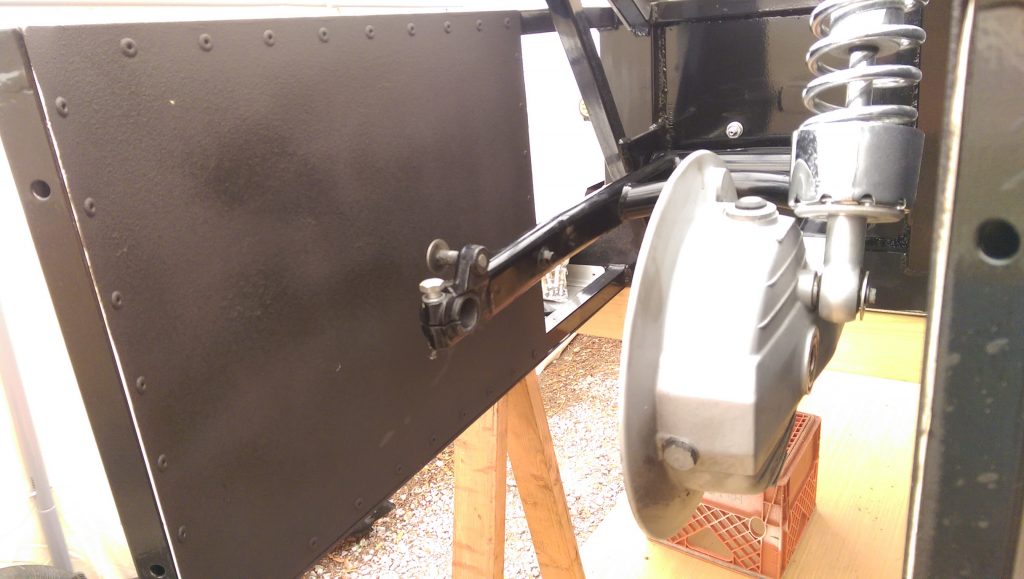
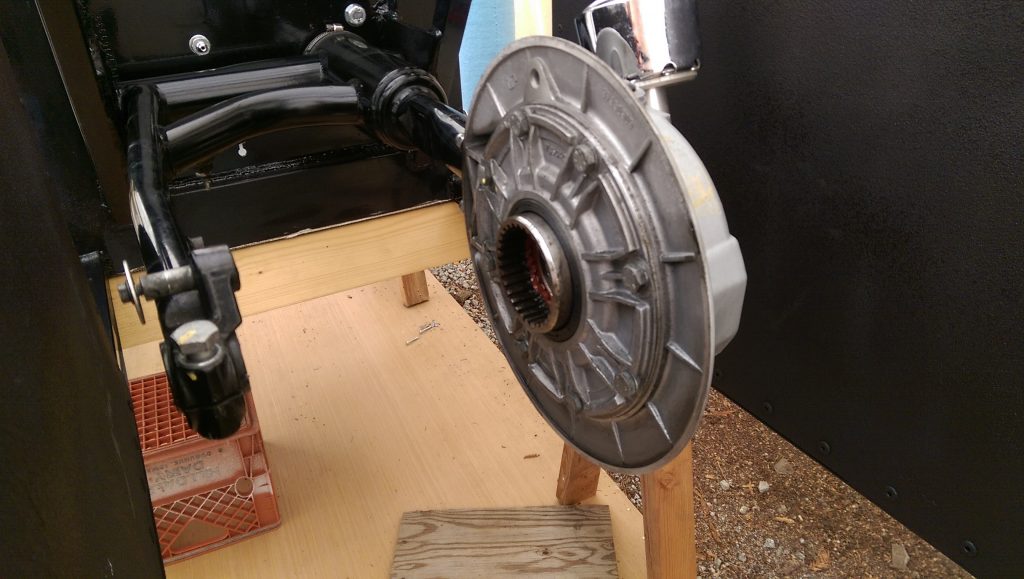
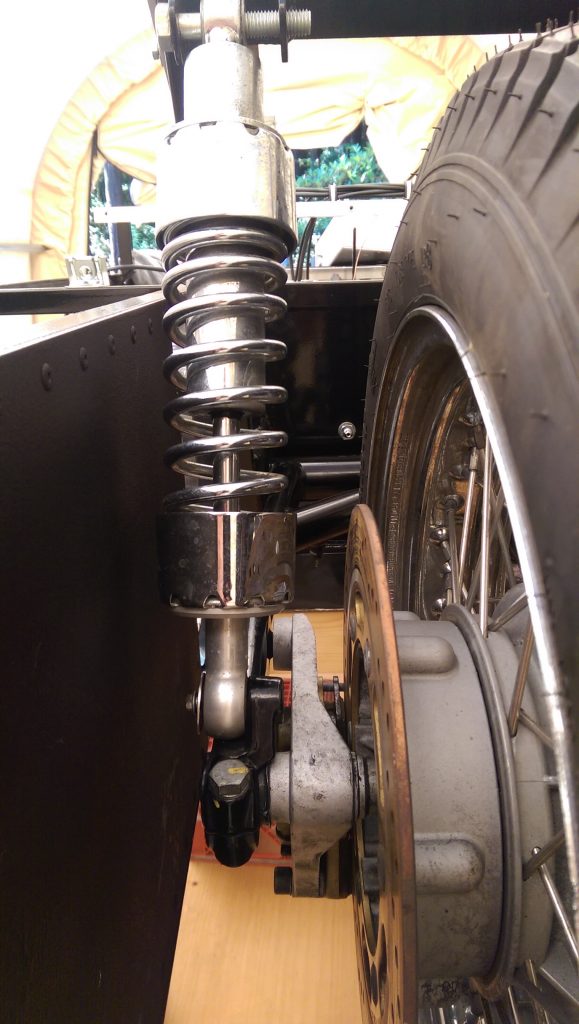
In the name of progress, the rear swingarm and driveshaft are fitted – as this gives me what I need for sizing rear shocks, and fitting a parking brake caliper (motorcycles don’t have them, generally).

img_20160910_122500

img_20160910_122506

img_20160910_151459

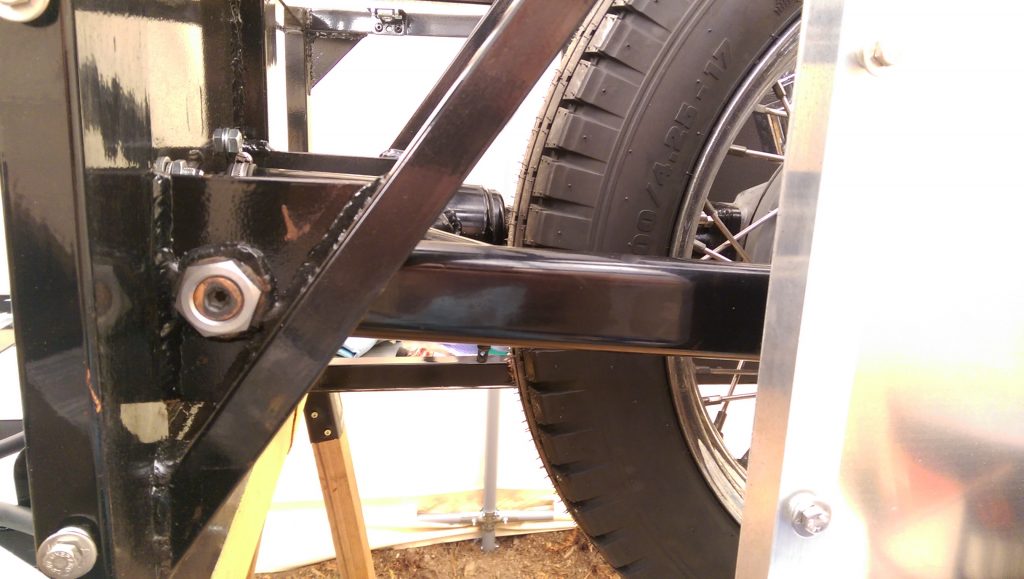
My build uses a 2003 Cal EV chassis, and the rear swingarm is longer and uses different style pivots.  Thankfully, older pivot pins (gold nut, center left) are still available new from your MG dealer.  Interestingly, the new pins themselves were 0.05mm larger in diameter than the originals, causing interference fit.  Swingarm bearings are ball bearings, and they don’t like side loading.  Further, I could try to shrink the pins (freezer) to get them to fit, but once in, they won’t come out.  So a quick spin on the lathe with some emery paper, and we gently dropped the diameters of the pins the requisite amount – et voila.

img_20160910_151523

The interior footwell/bulkhead panels were drilled and removed, and outward faces painted (that’s the riveted panel in the background) – the interior surface will have sound deadening foam and possibly carpet applied.  Getting these panels in and out necessitates lifting the electrical box up and out of the way (box at angle top of photo) – tricky tho given the wiring is already in.

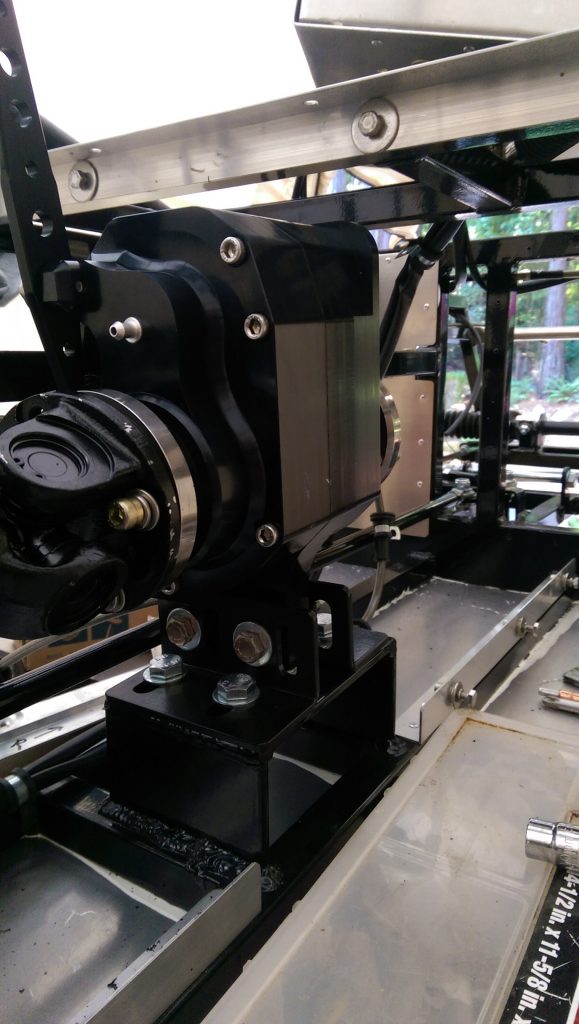
Also, fitted the driveshaft and reversing gearbox – 5 speeds forward, 5 speeds backwards.

Feels like progress.

img_20160910_163441