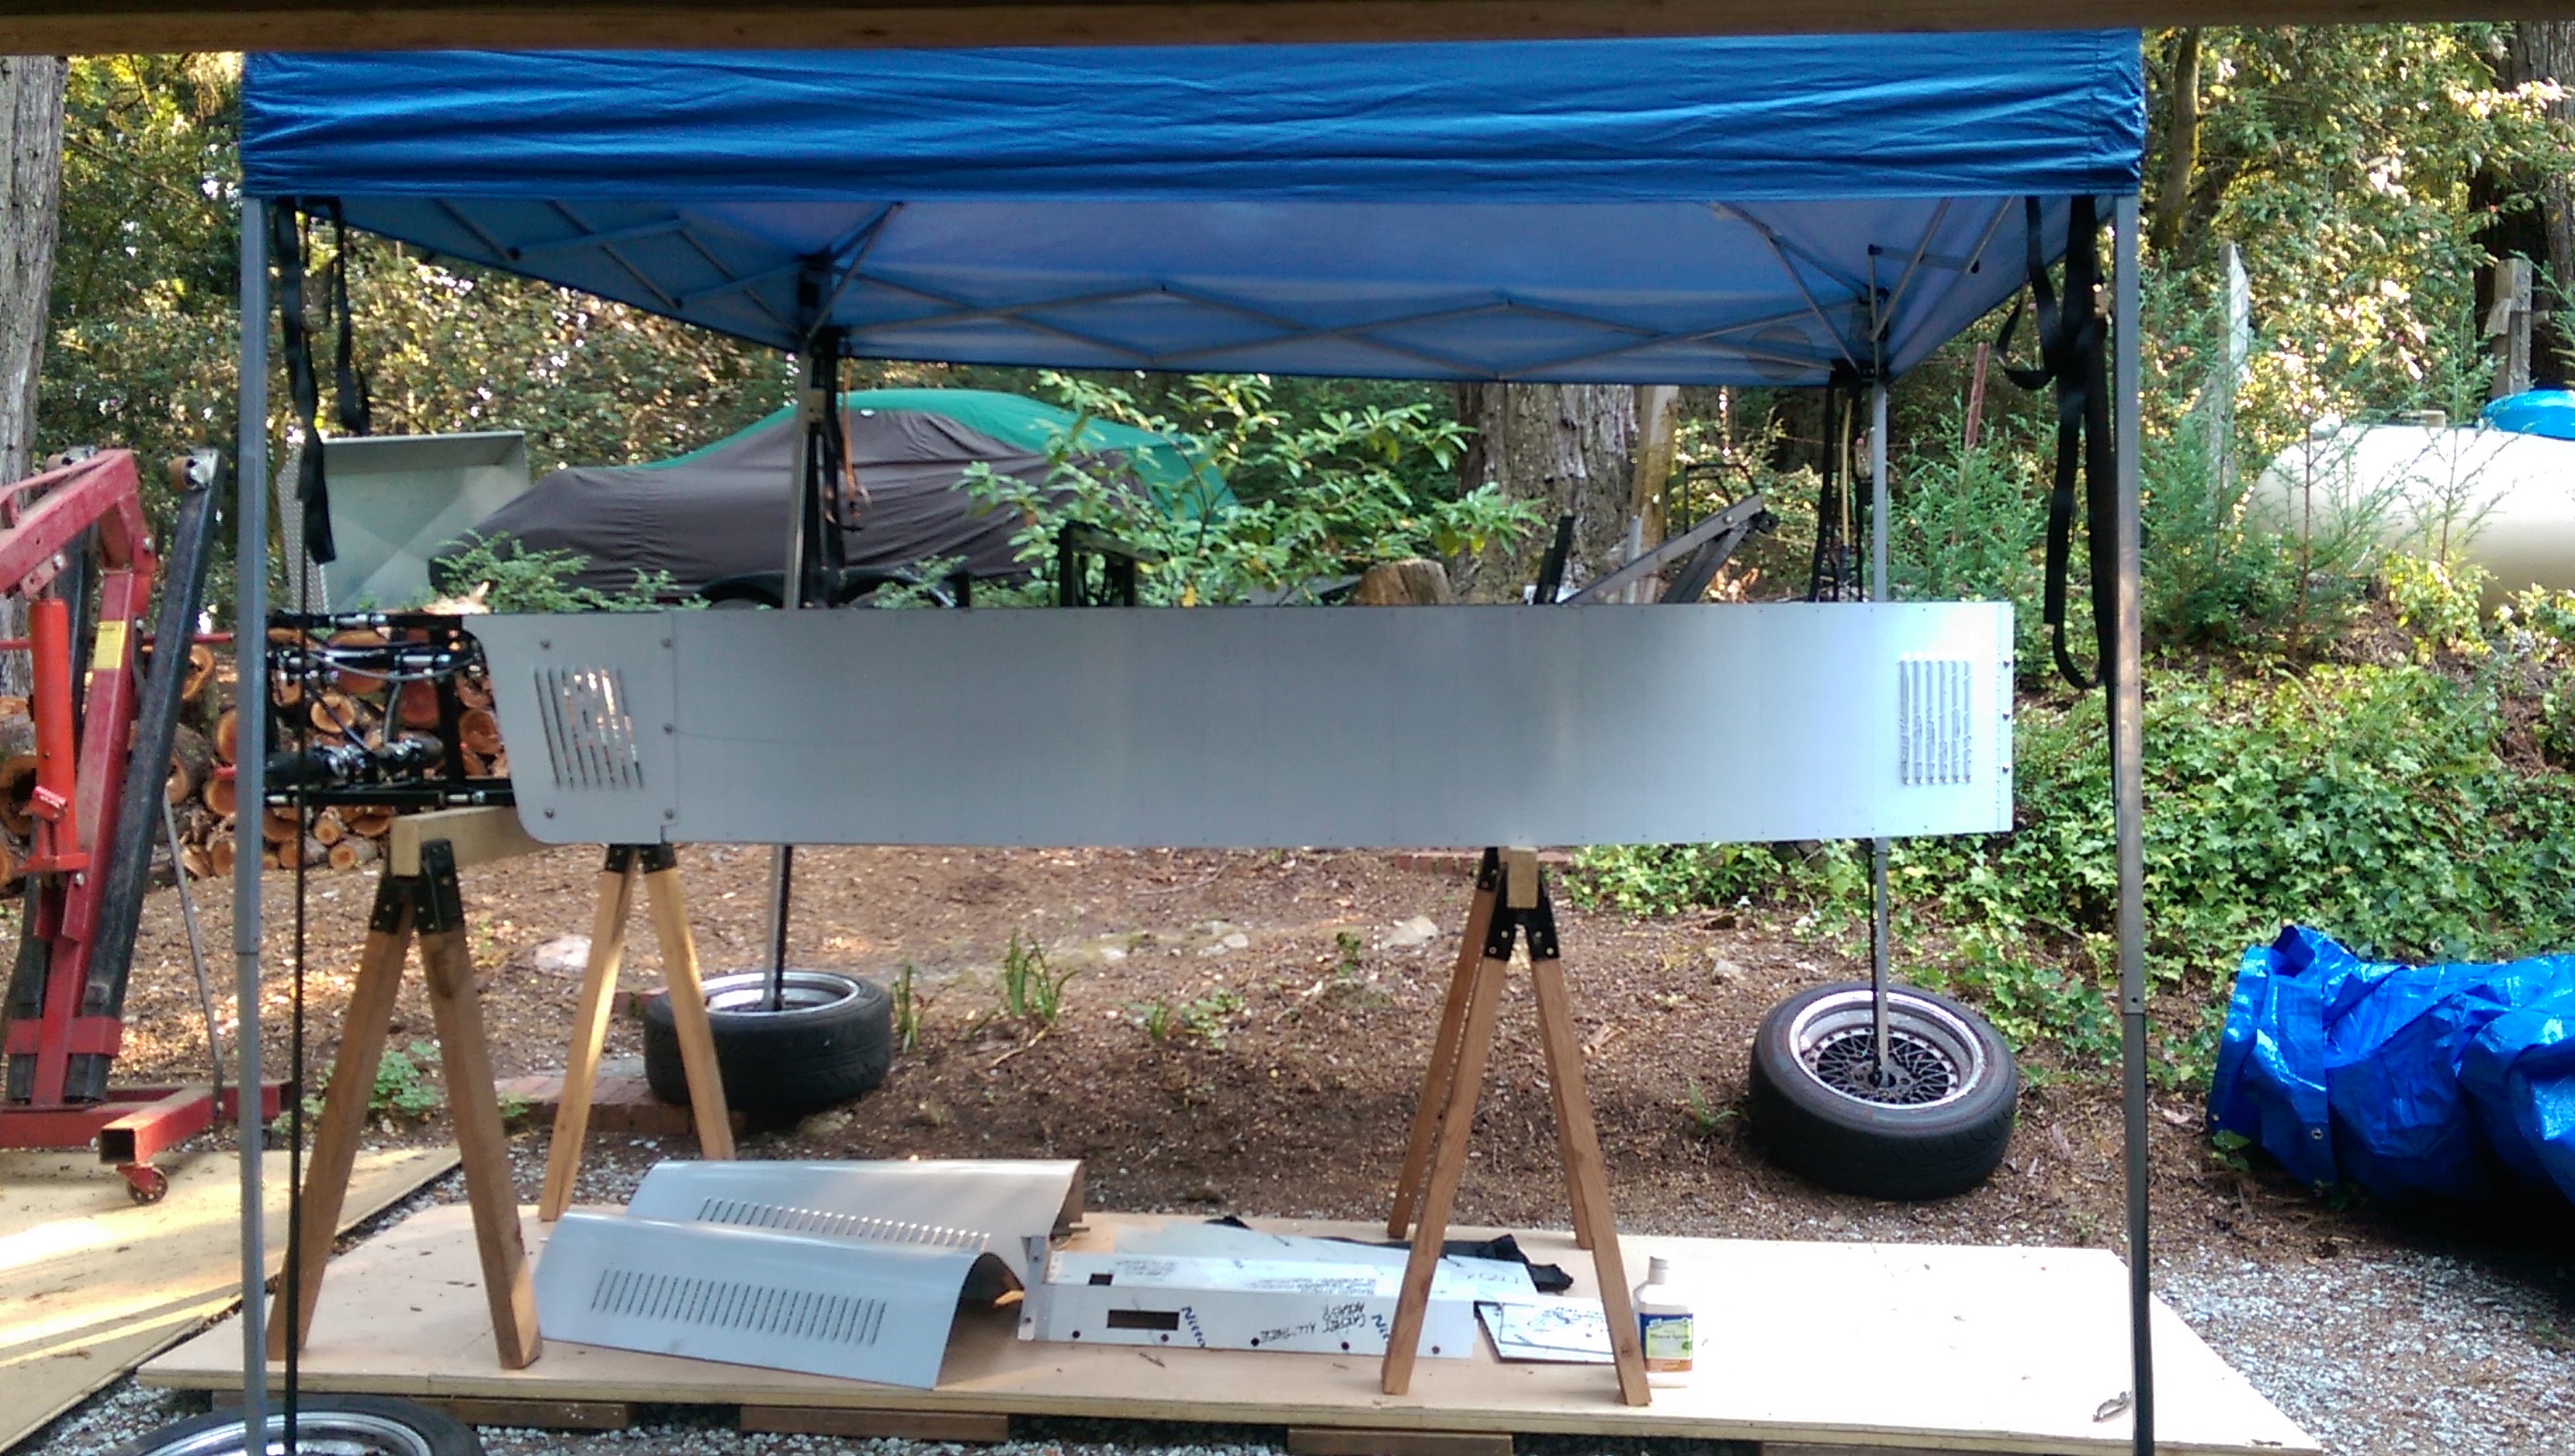
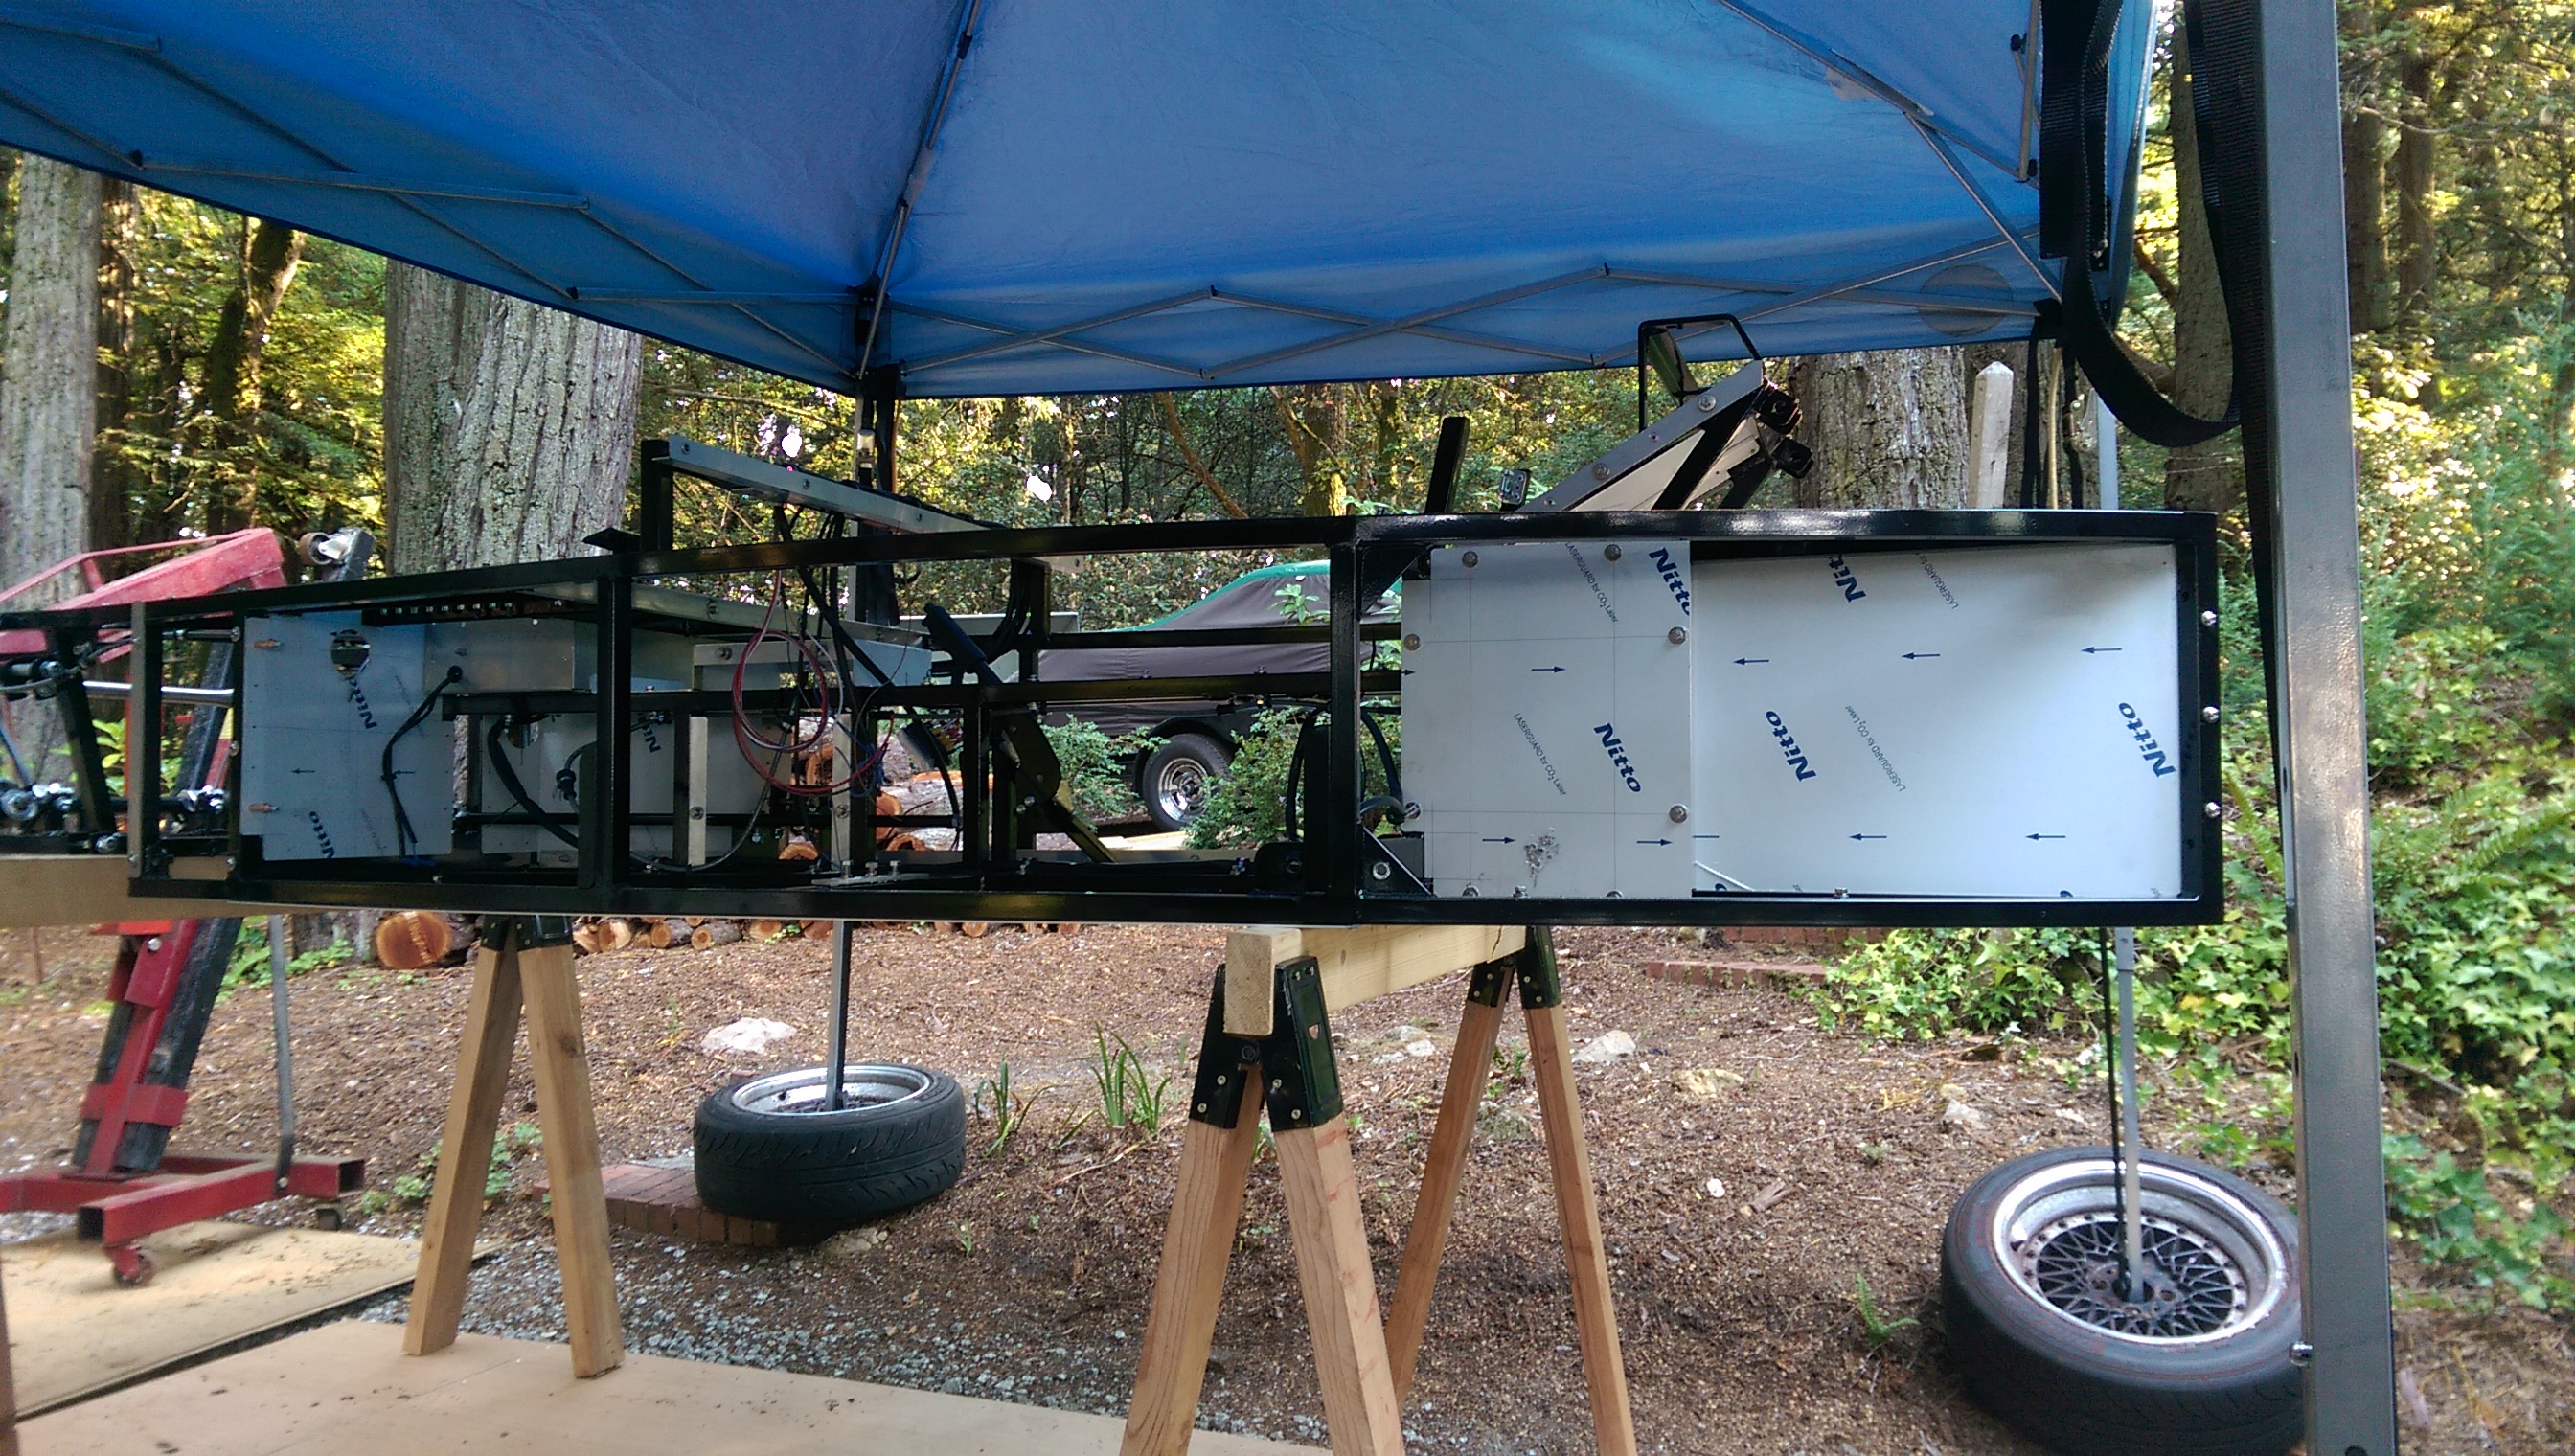
The next step in this process is to strip the chassis down so it can be flipped over to attach the floor. All body panels come provisionally fitted to ease in shipping, but also provide an indication of where everything goes. So disassembly takes some time, mainly as you familiarize yourself with what everything is and where it goes.
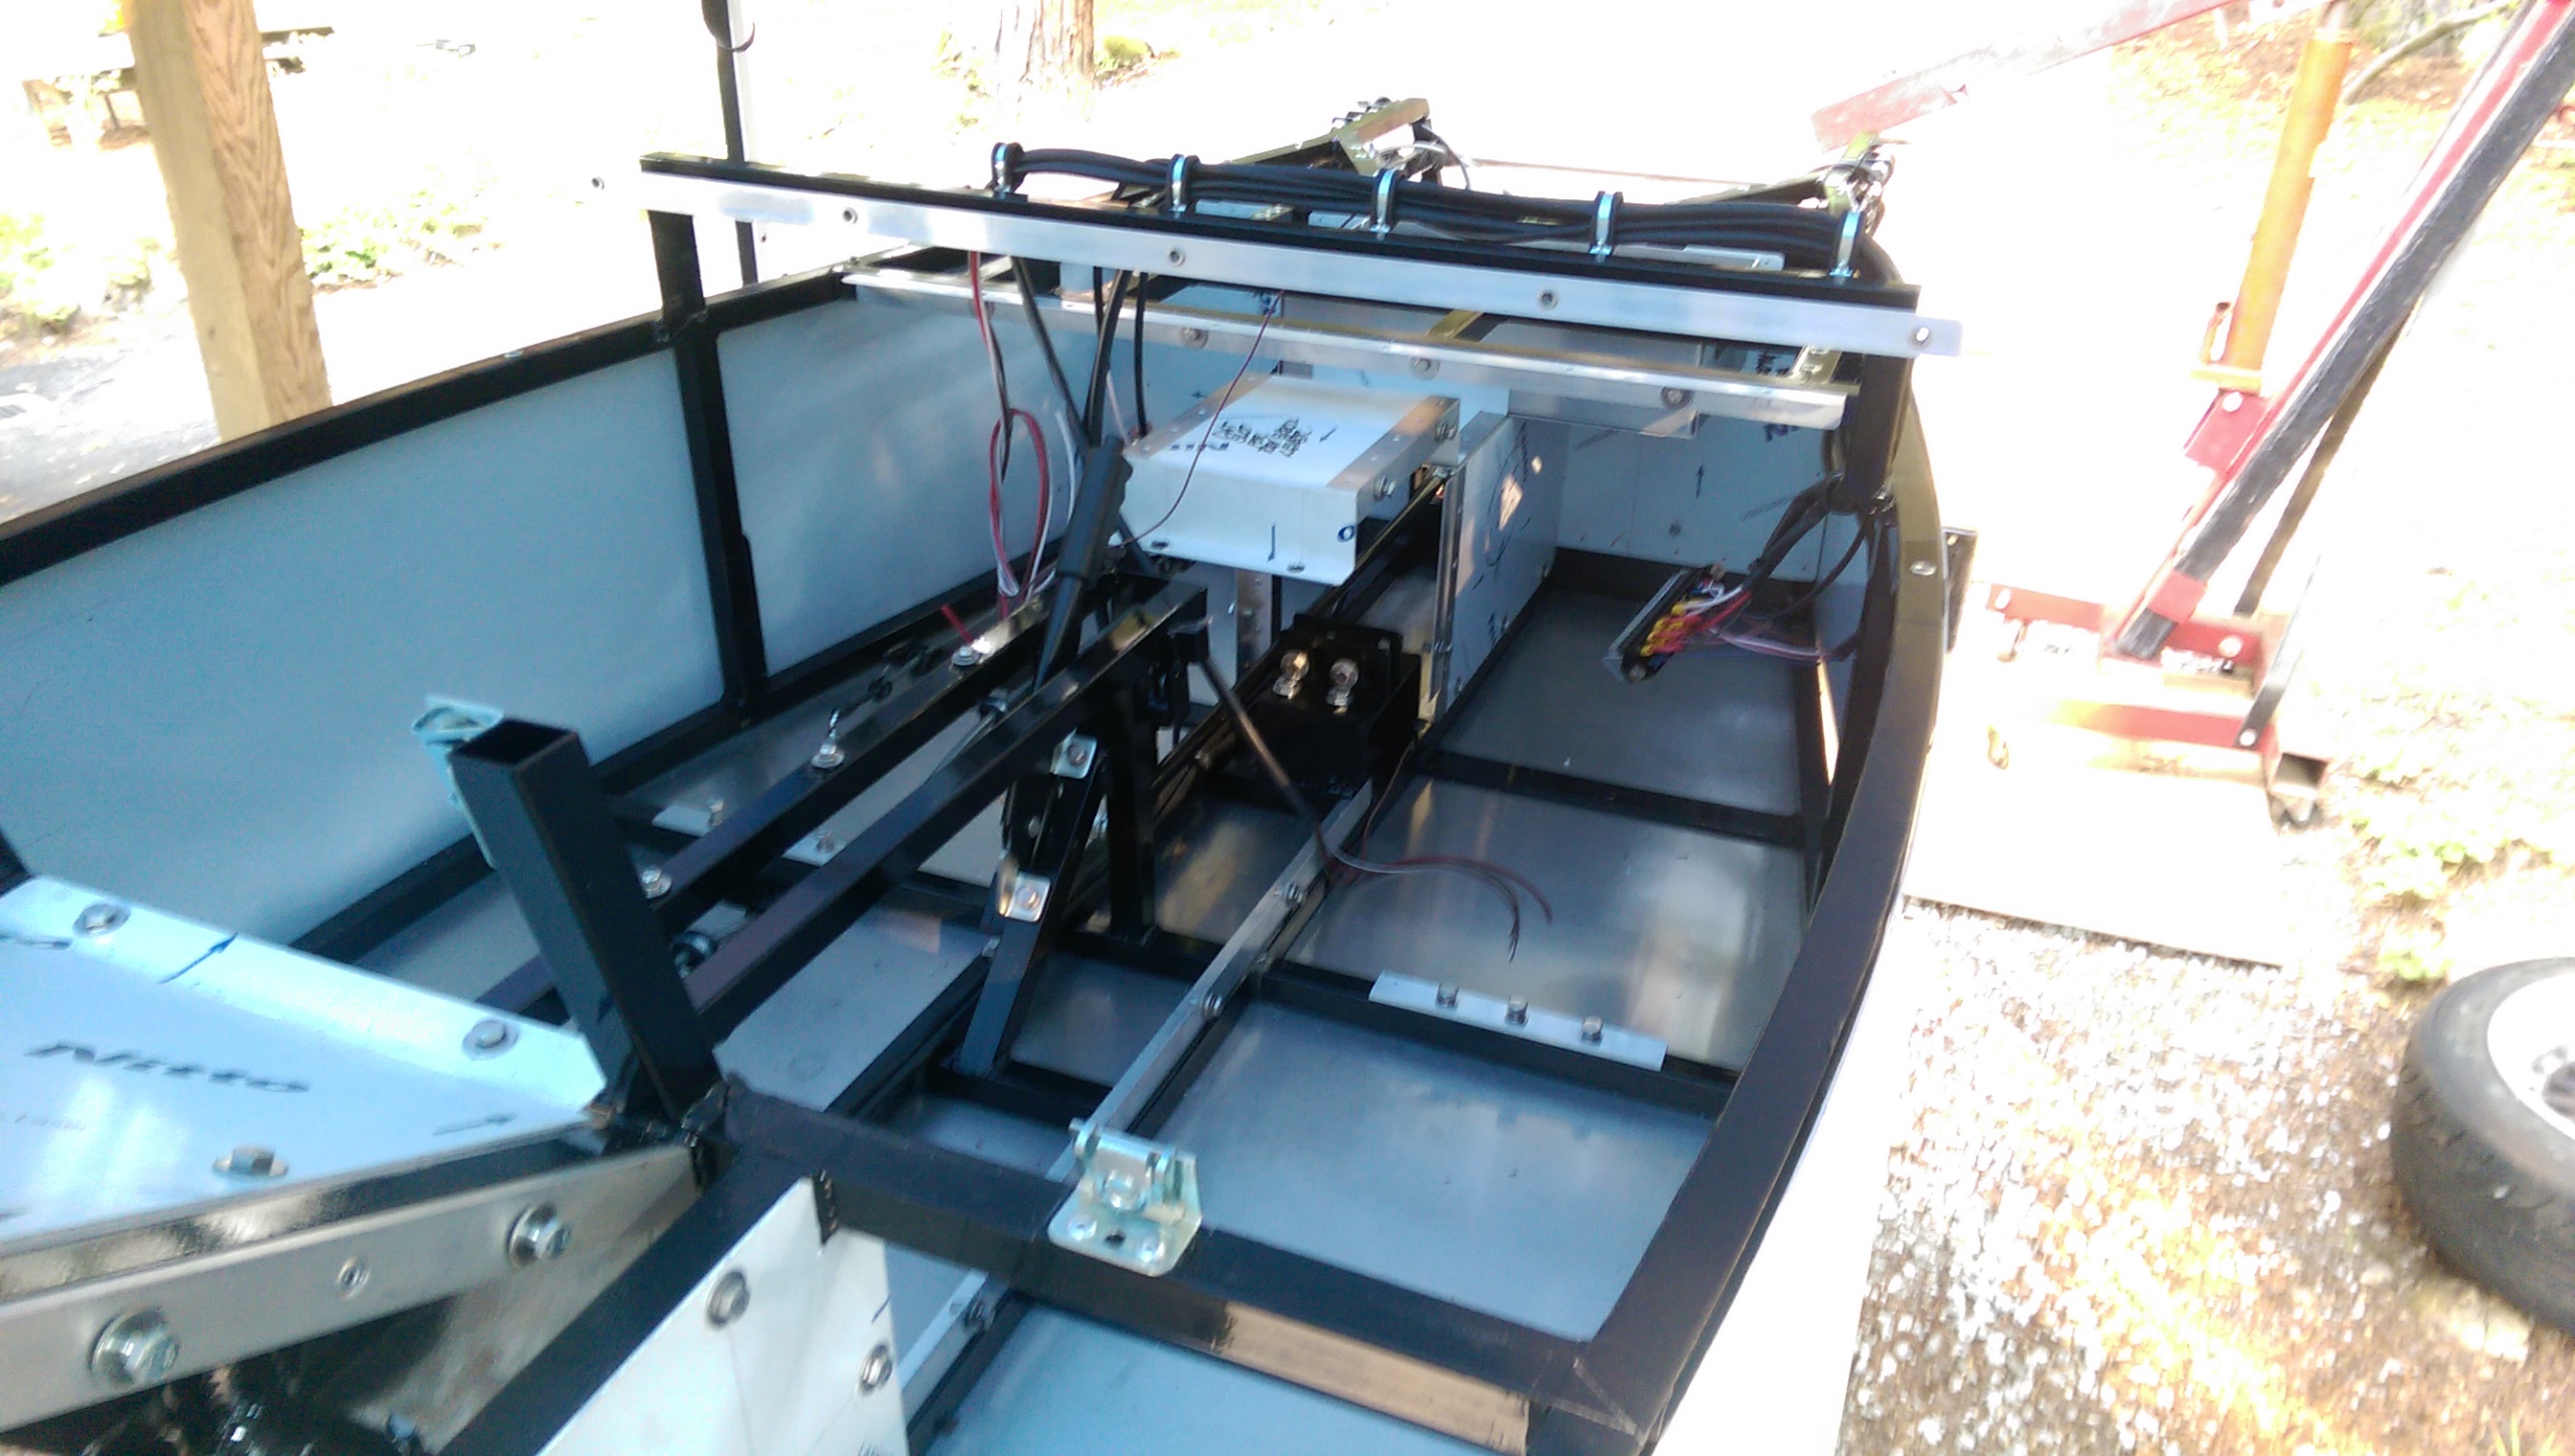
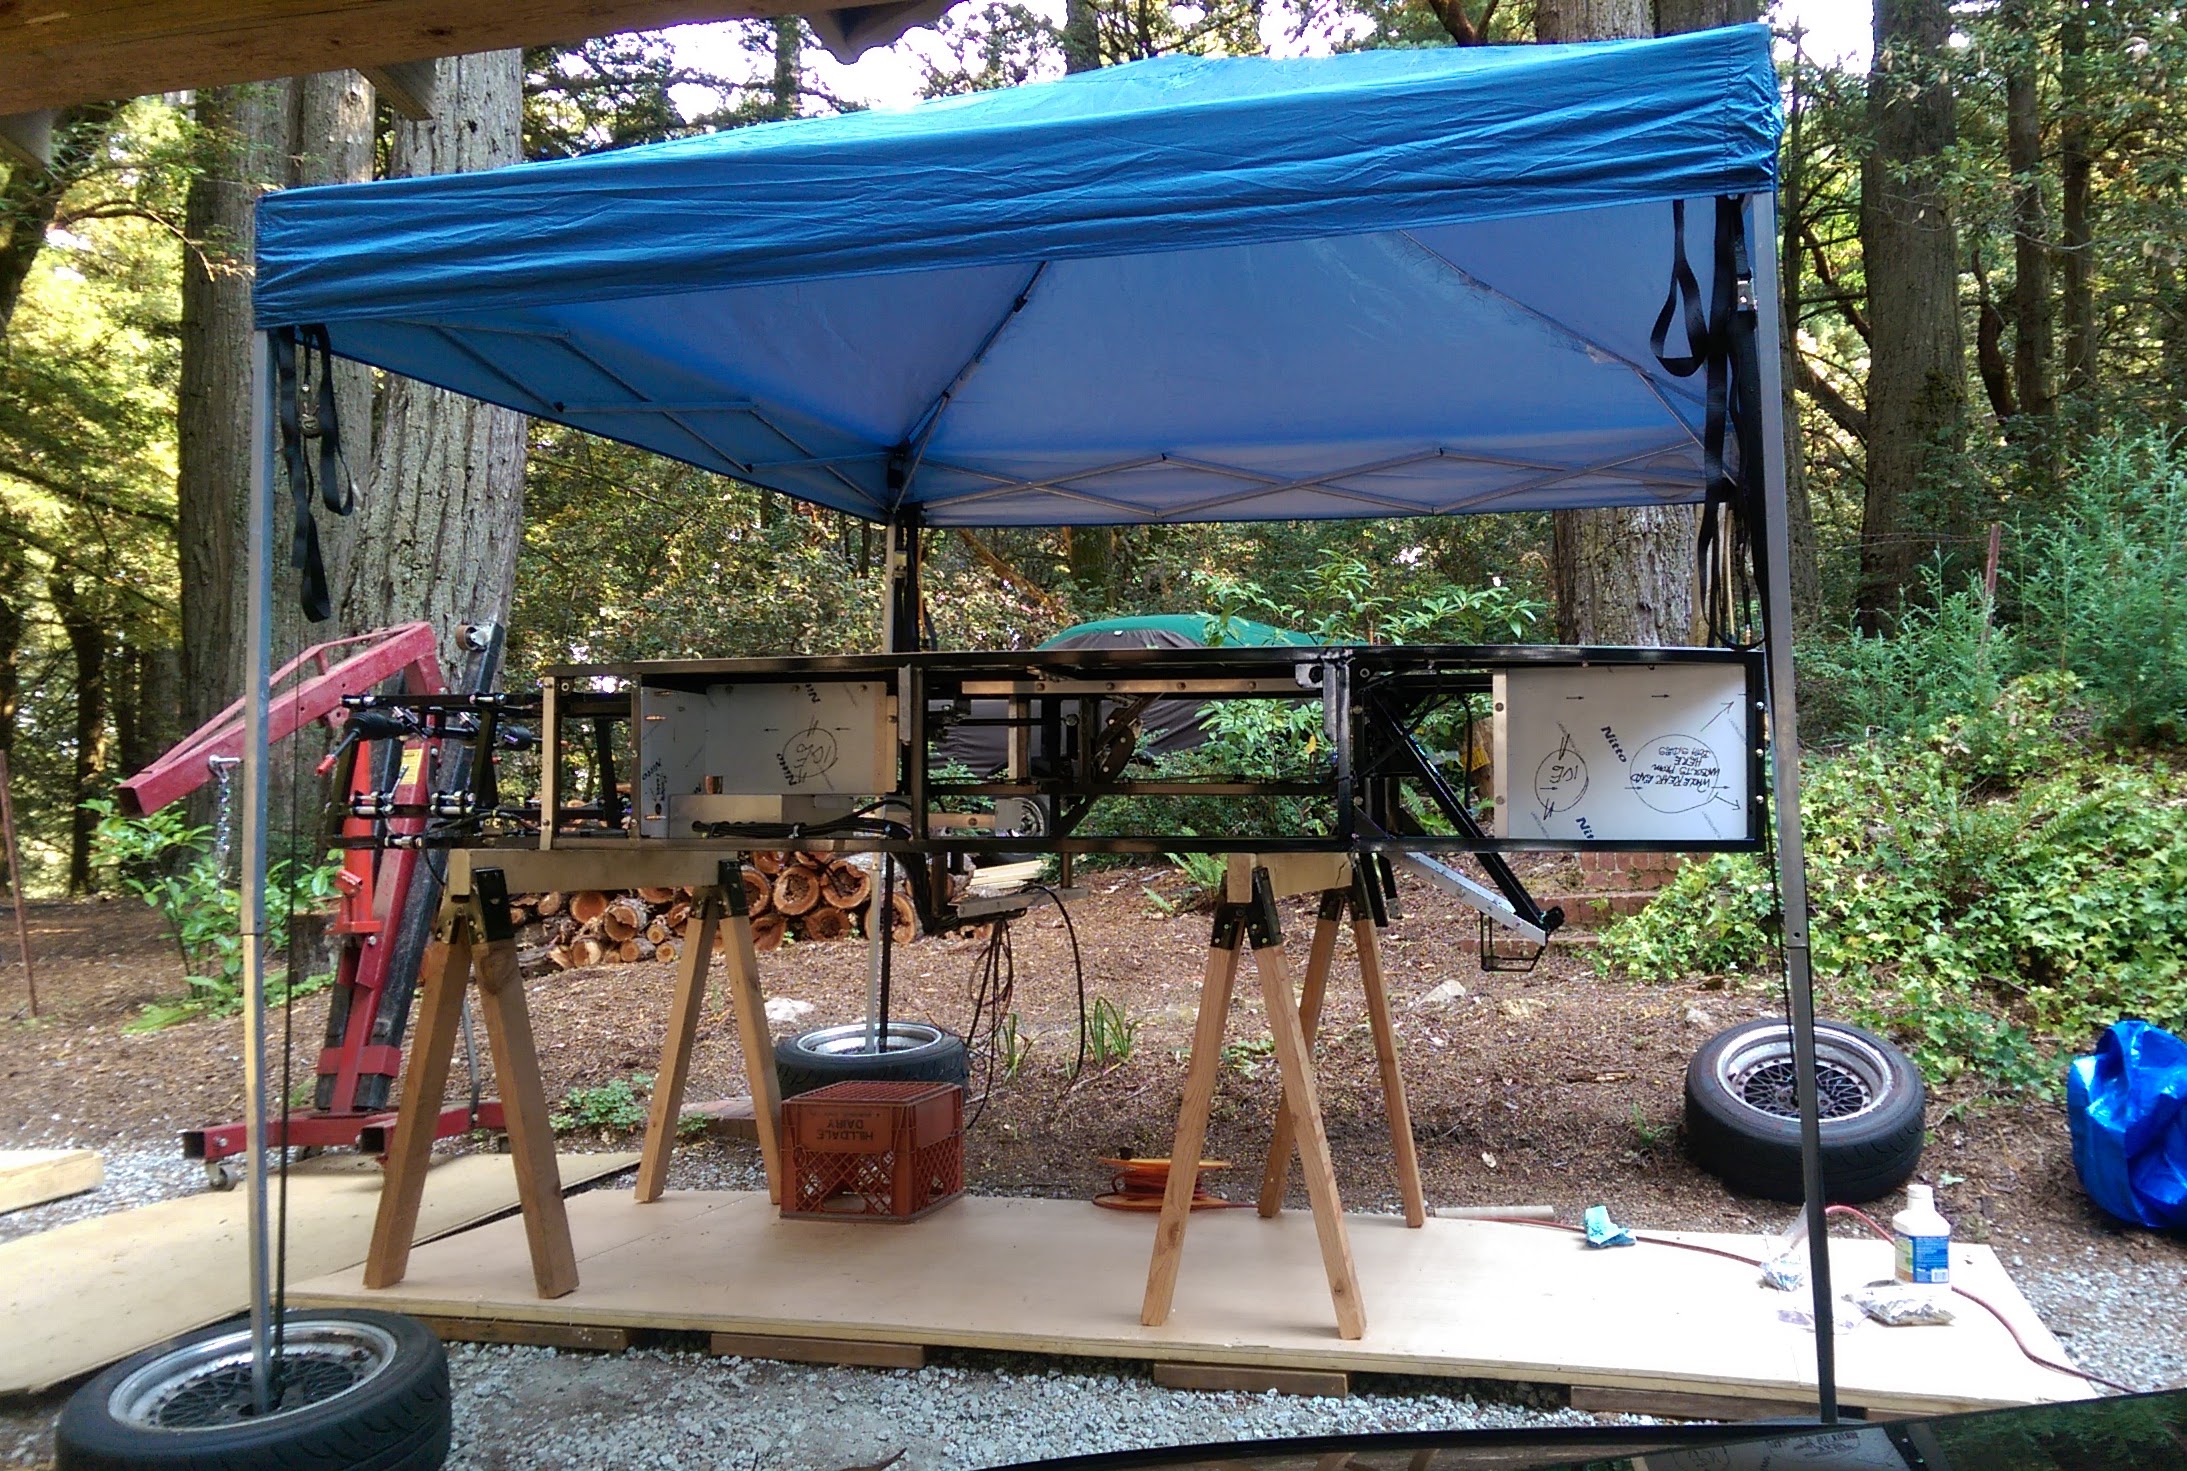
With the chassis light enough to flip, we flip it over.
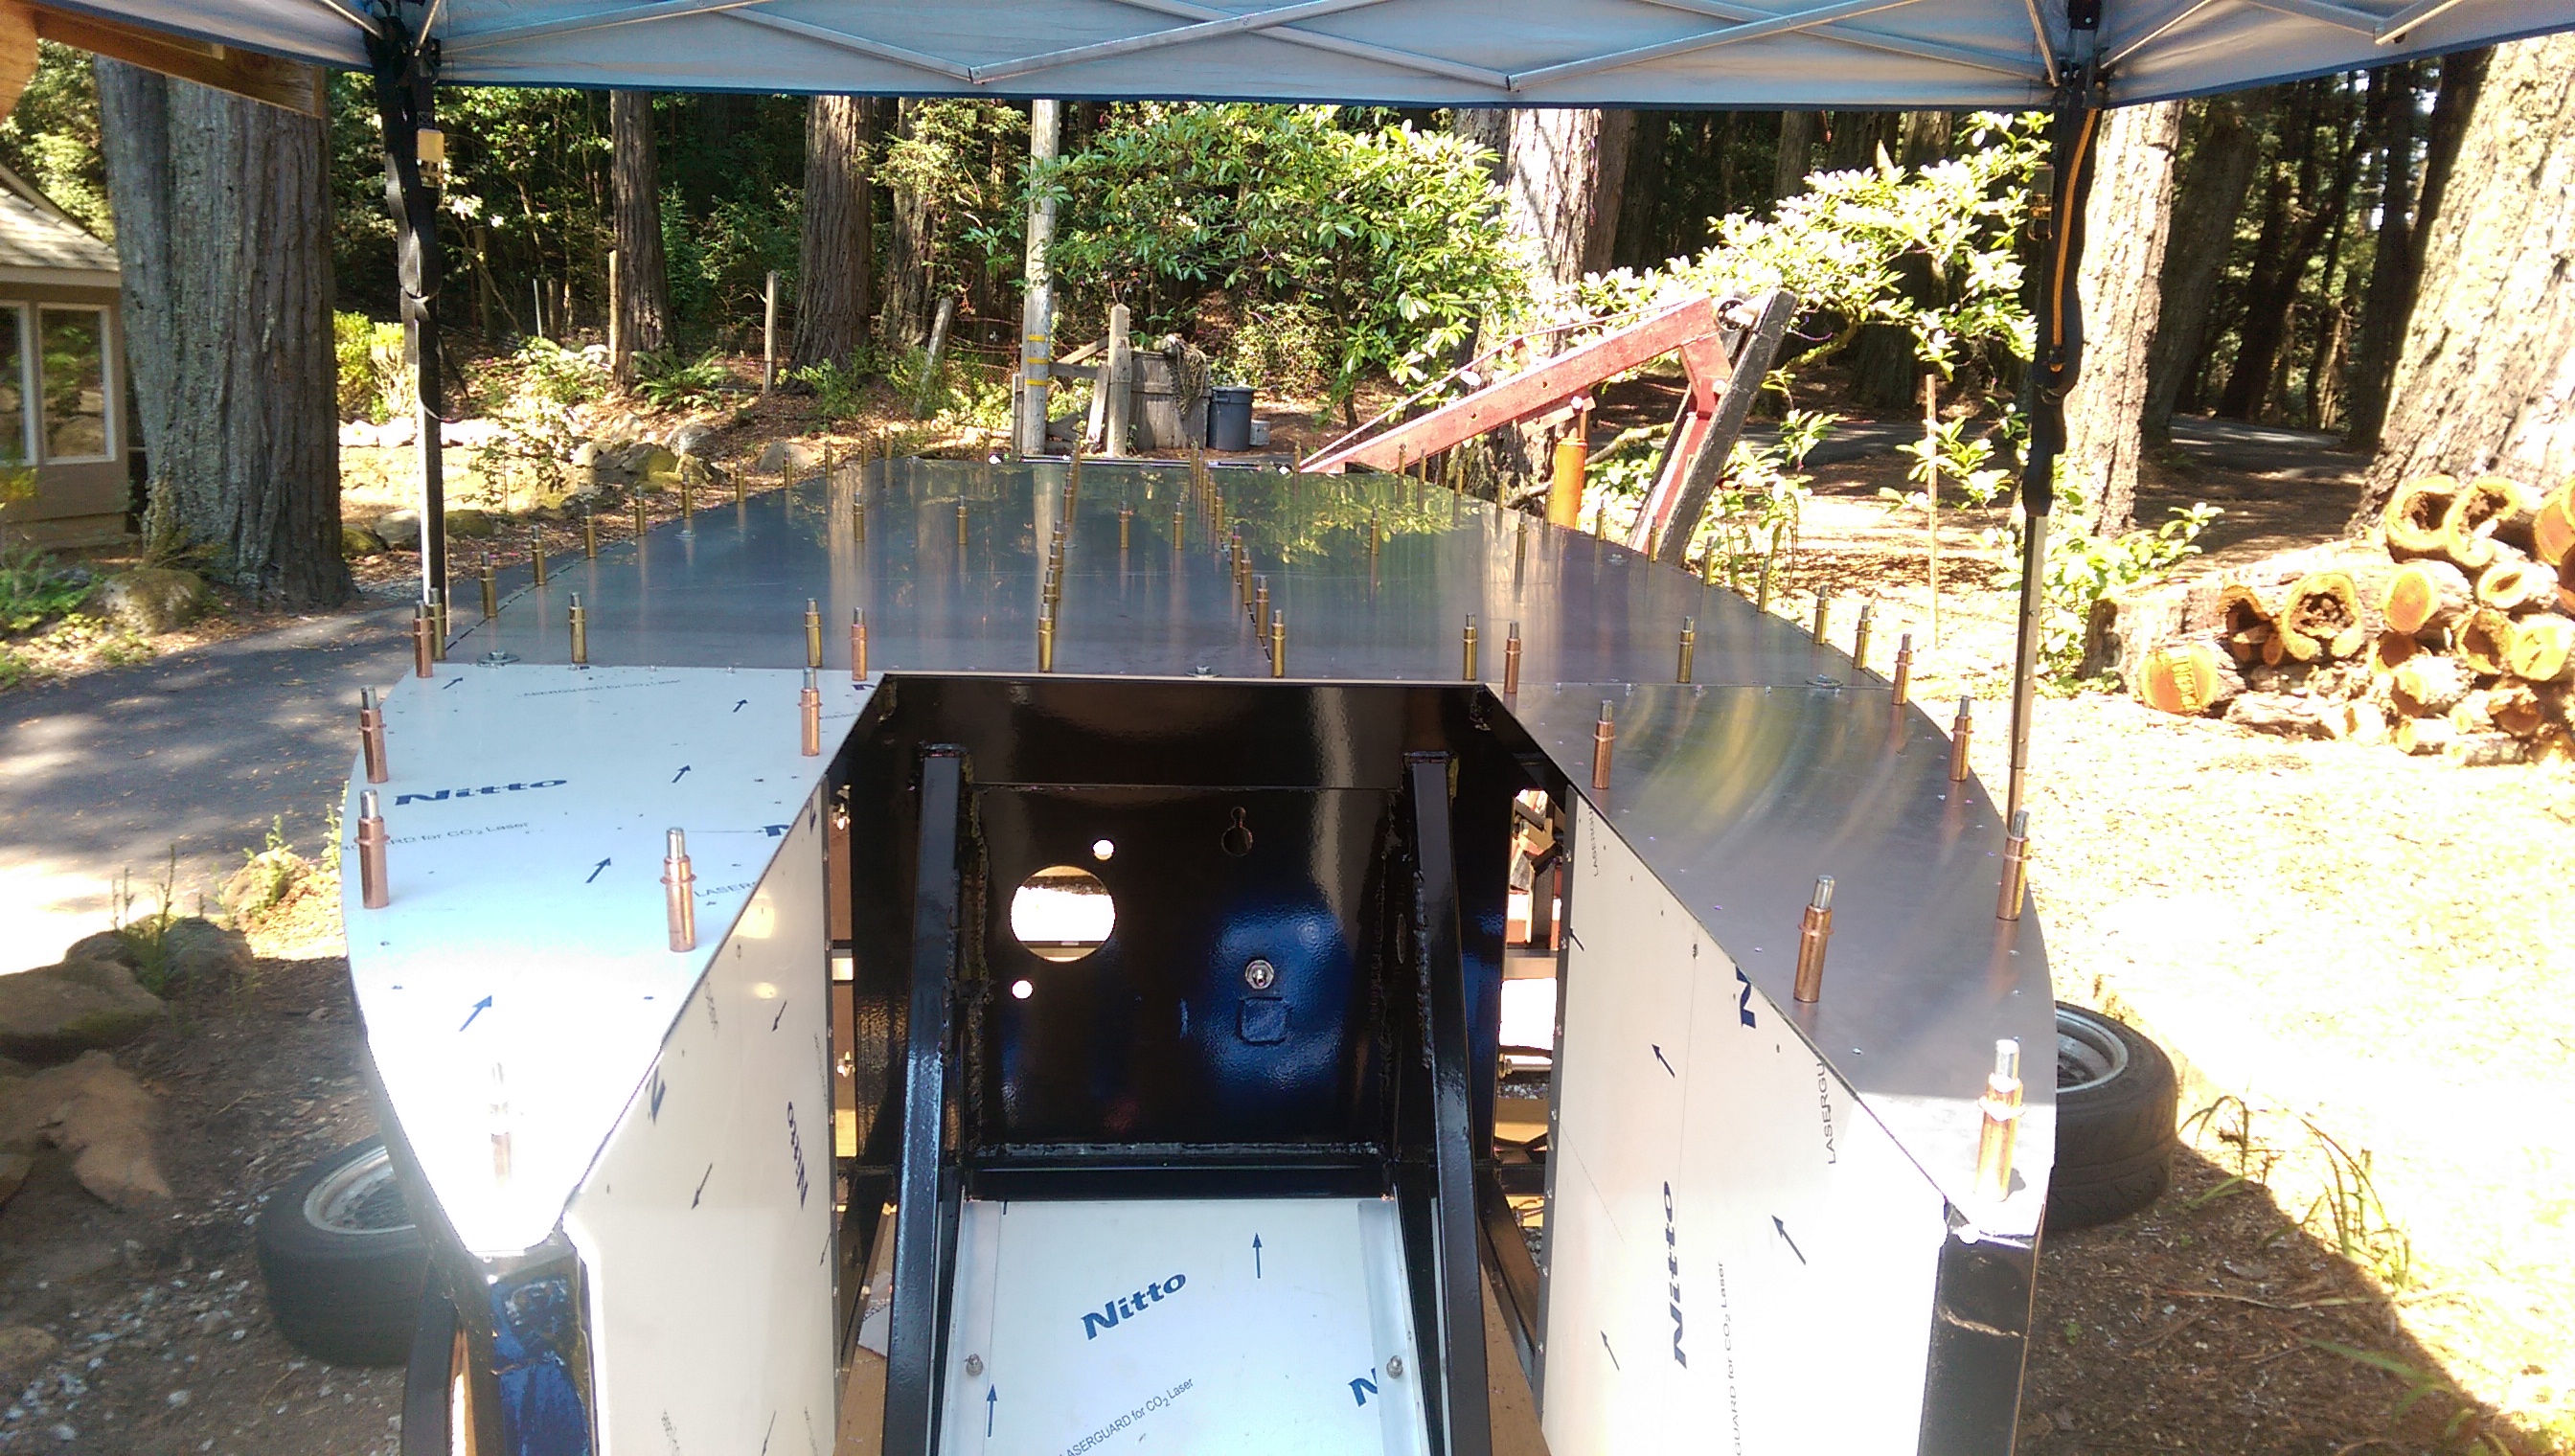
Arthur provides build notes, and they are very useful. Indeed, when you take the floor off to prepare for permanent attachment, there are a number of interior panels that will also be riveted, and the holes are much easier to drill at this time. So any interior panel that’s provisionally riveted will need to have all the holes drilled before the floor goes on. Really only the ones at the floor level (since you can’t get a drill in there otherwise), but best to just do them all so you don’t have to keep track of which have been drilled and which haven’t.
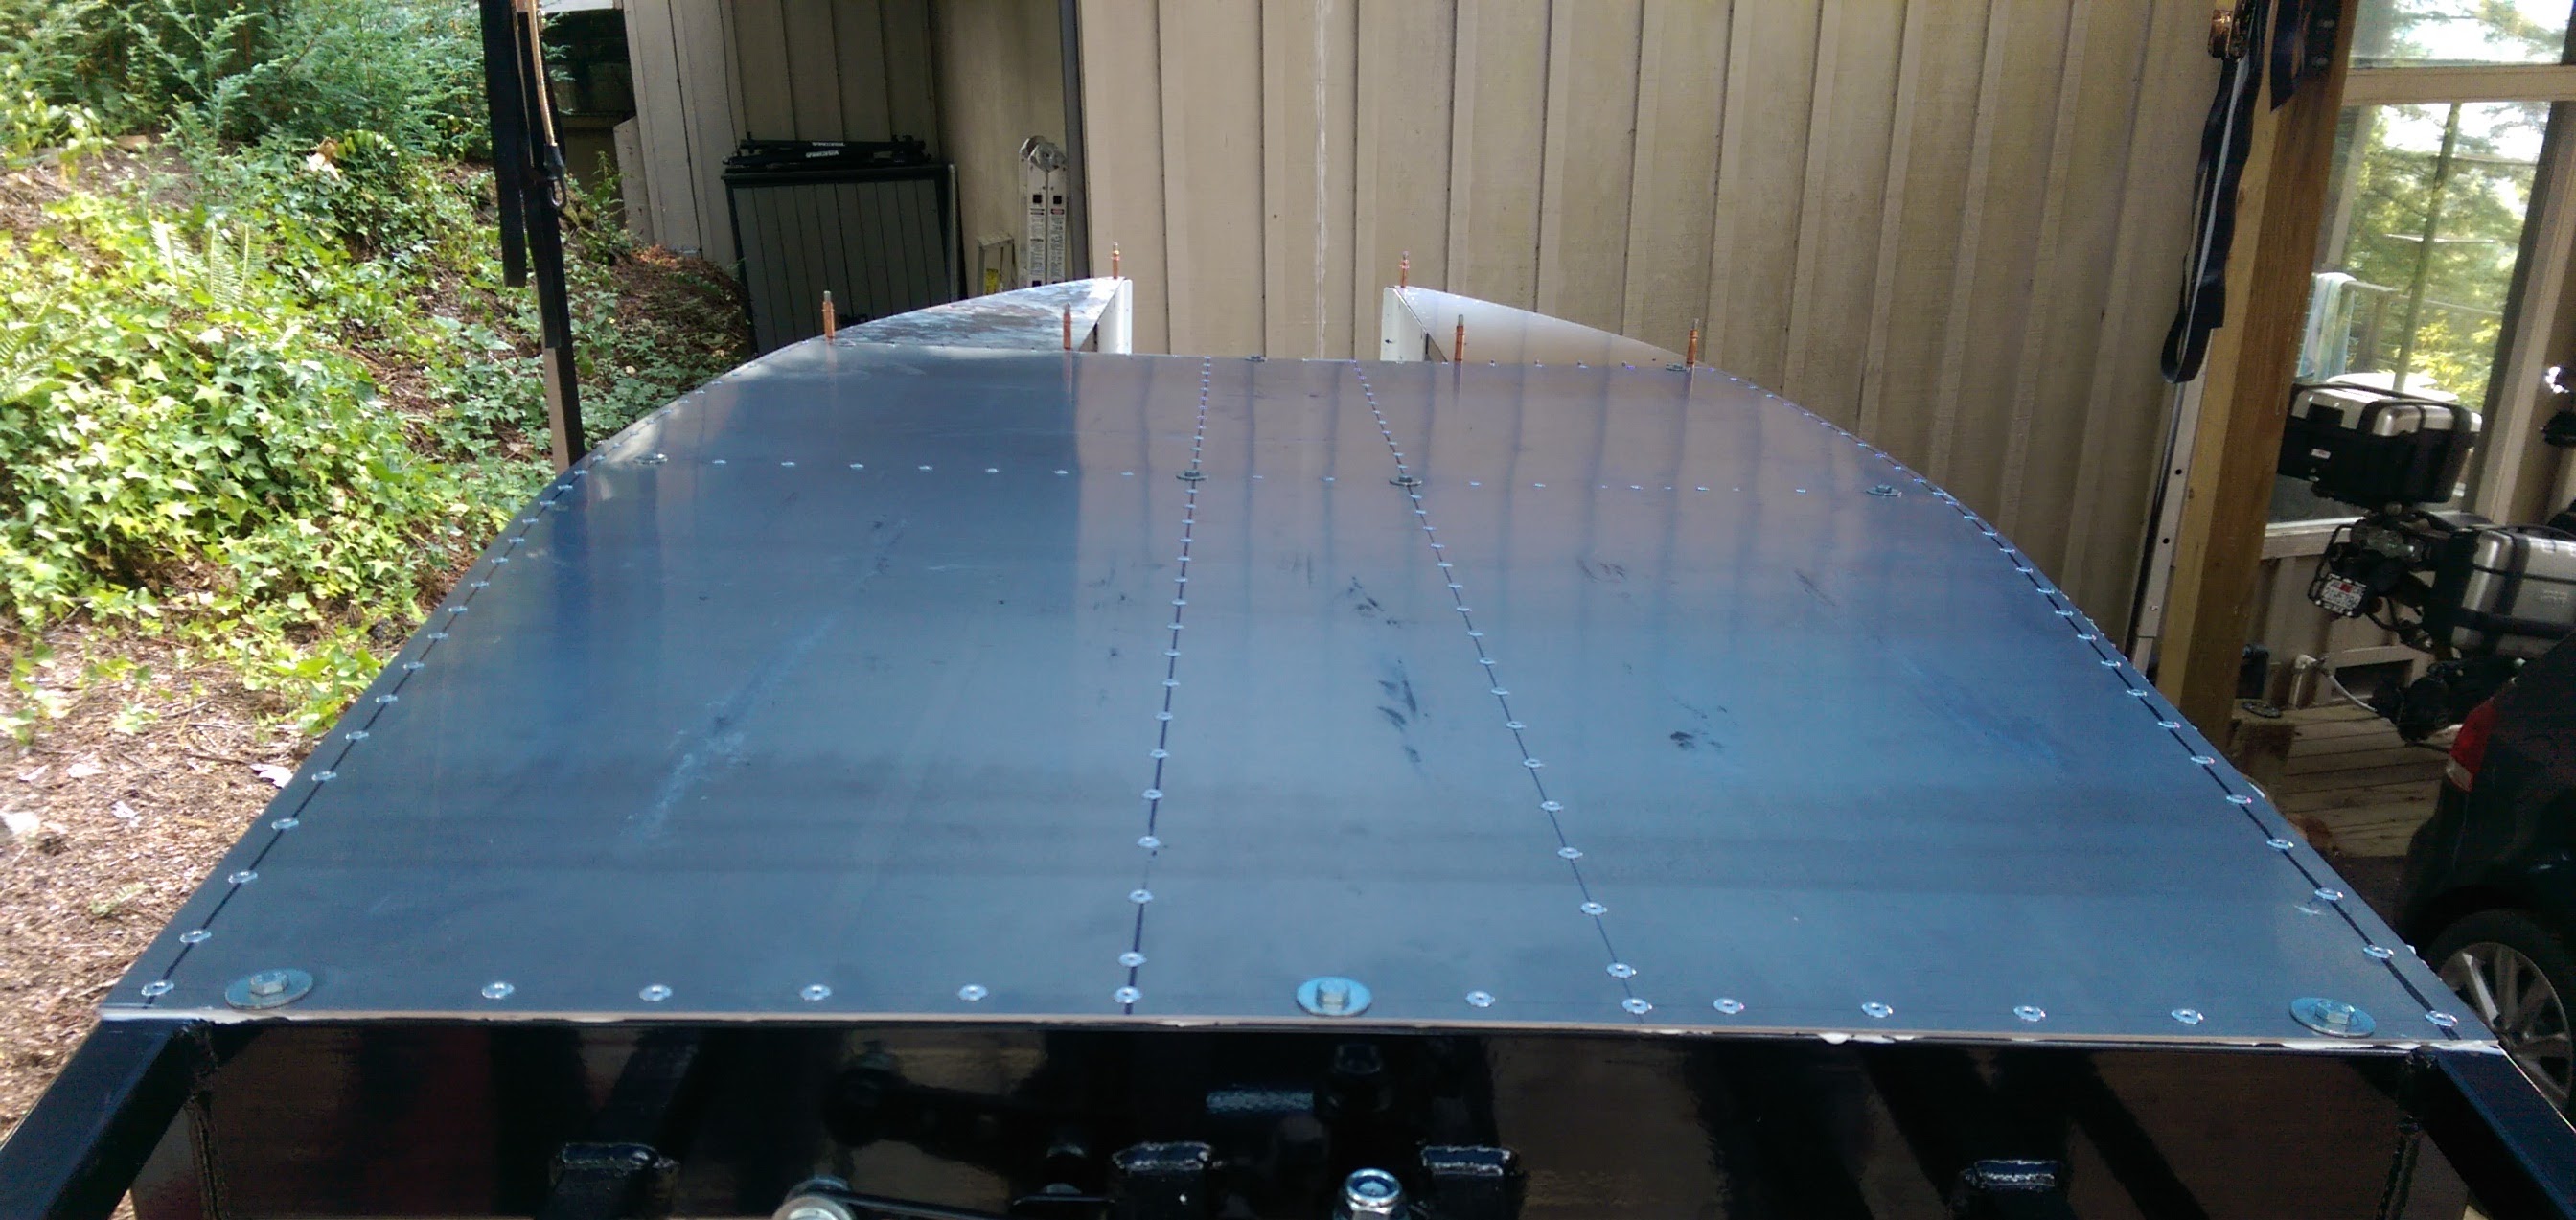
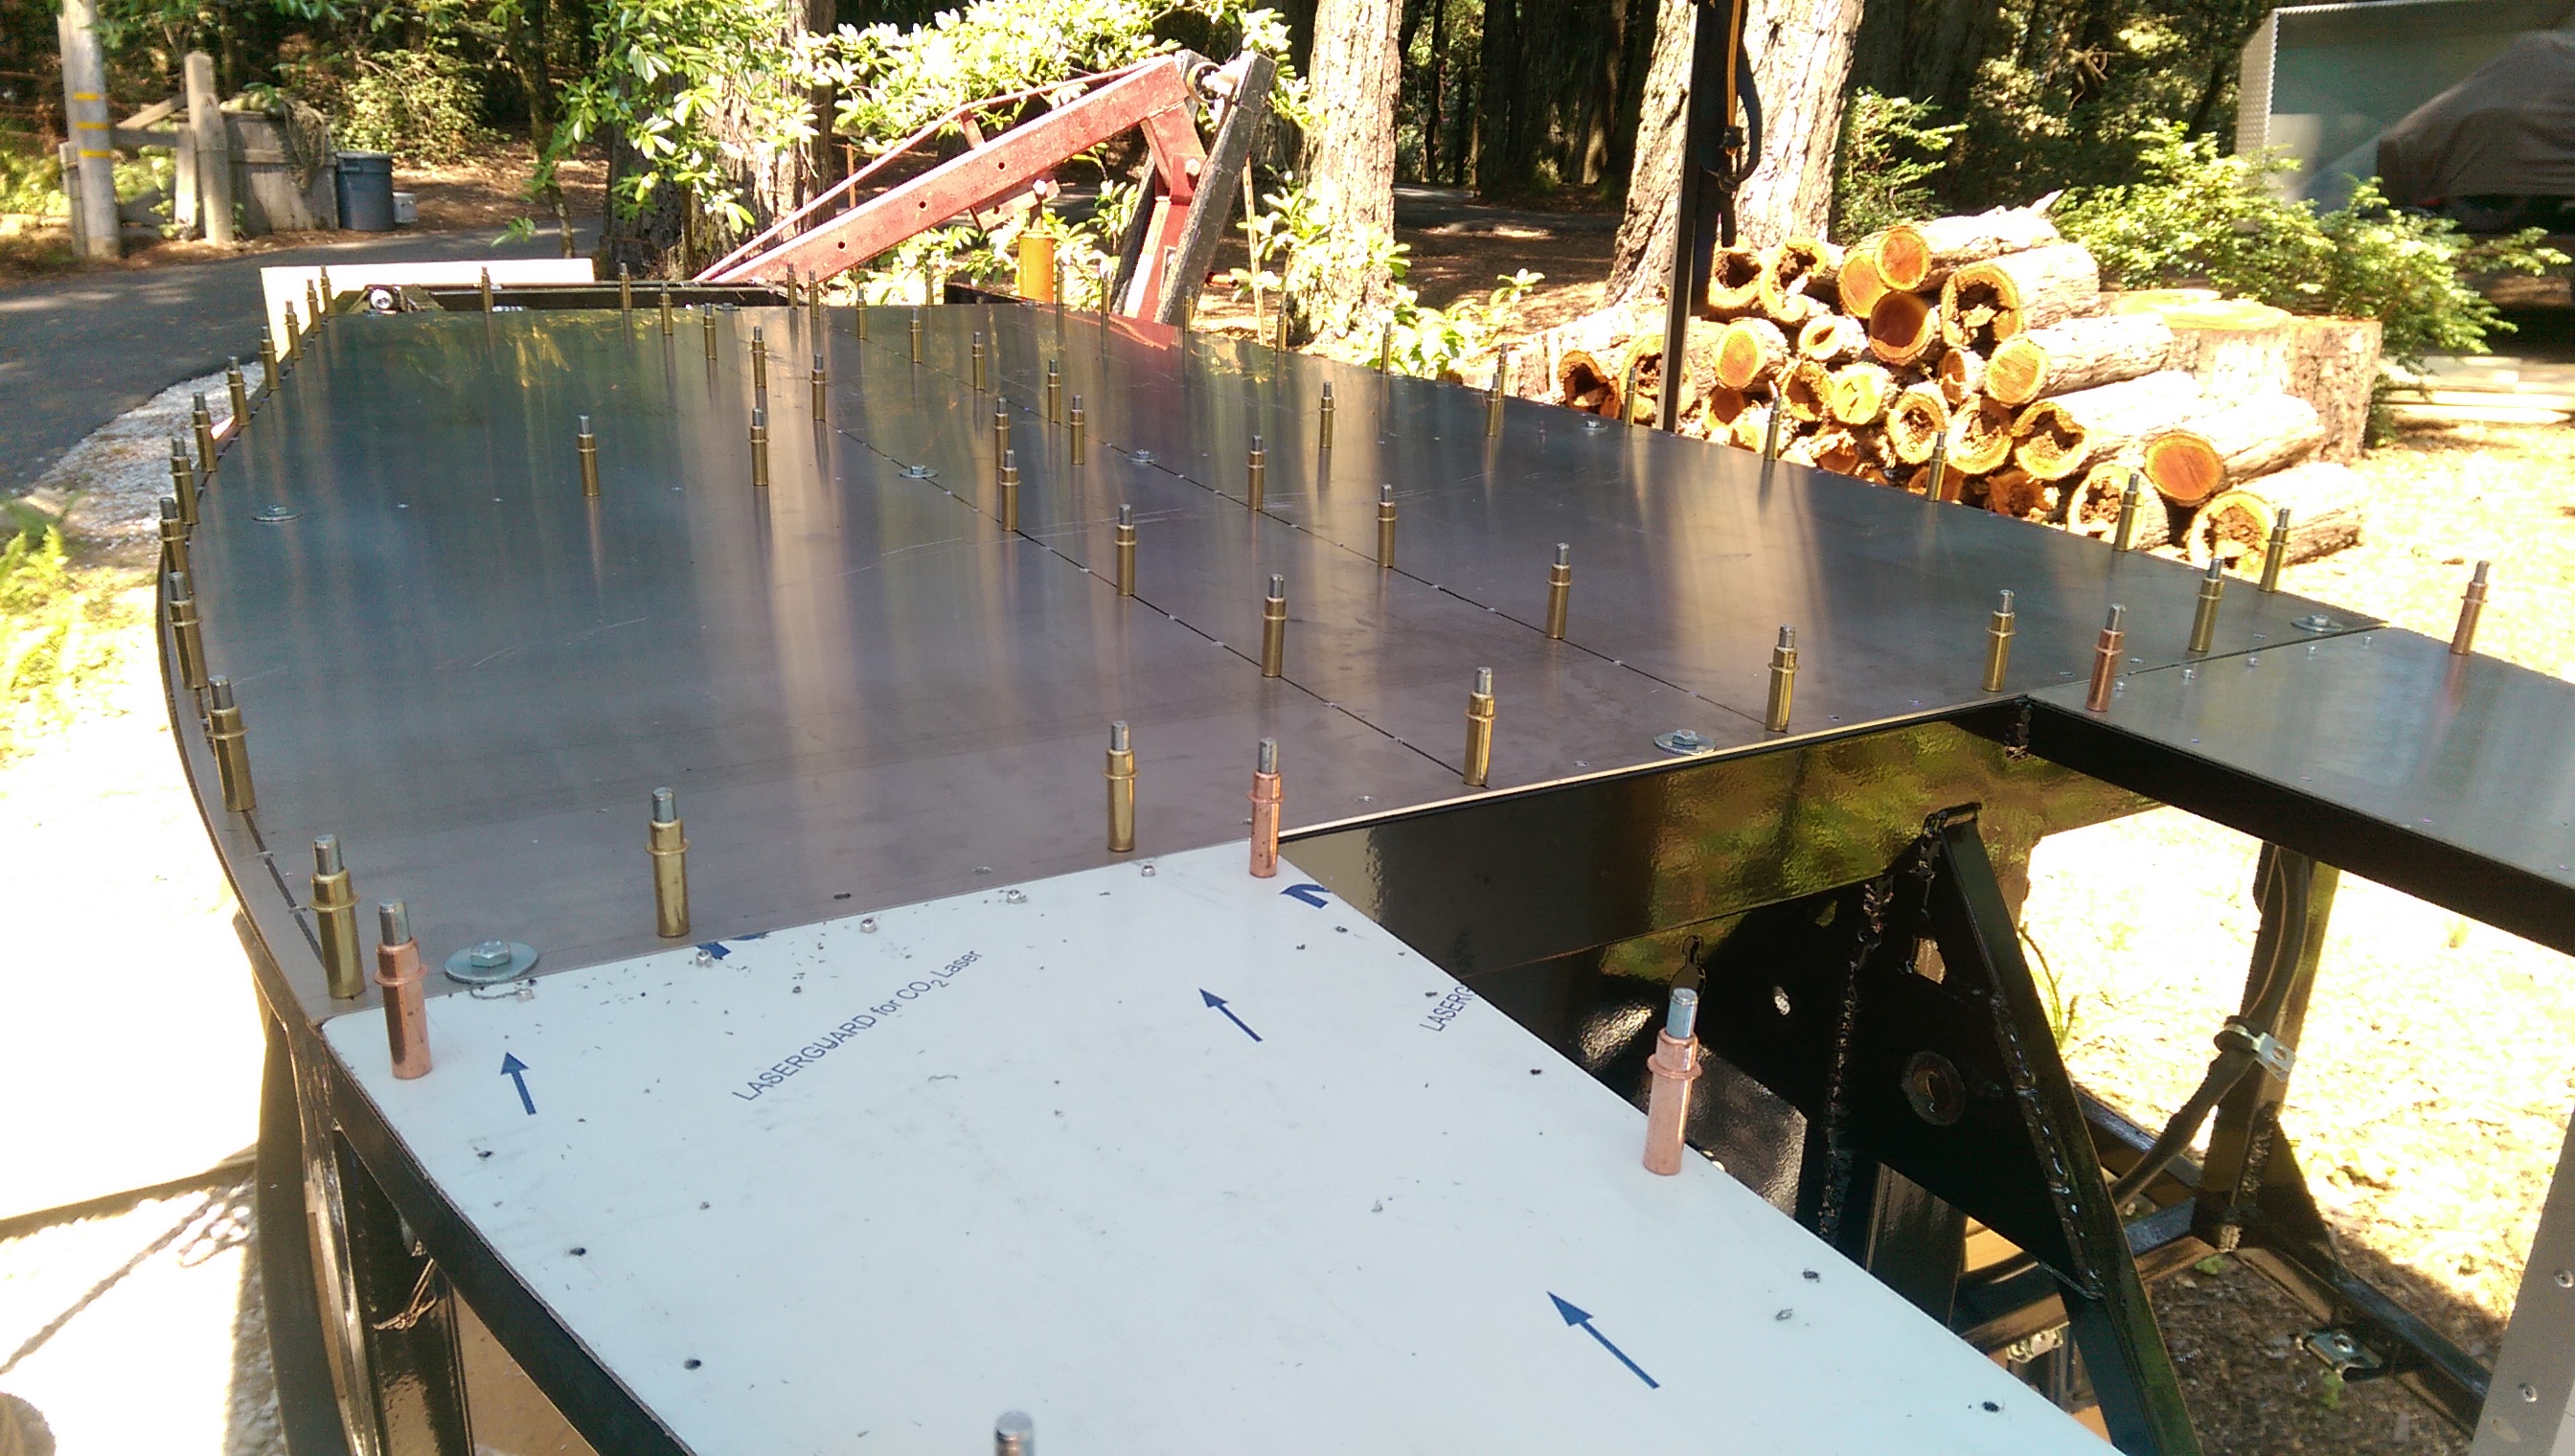
Using Clecos, we progressively drill and secure the floor so things don’t move as we go.
 \
\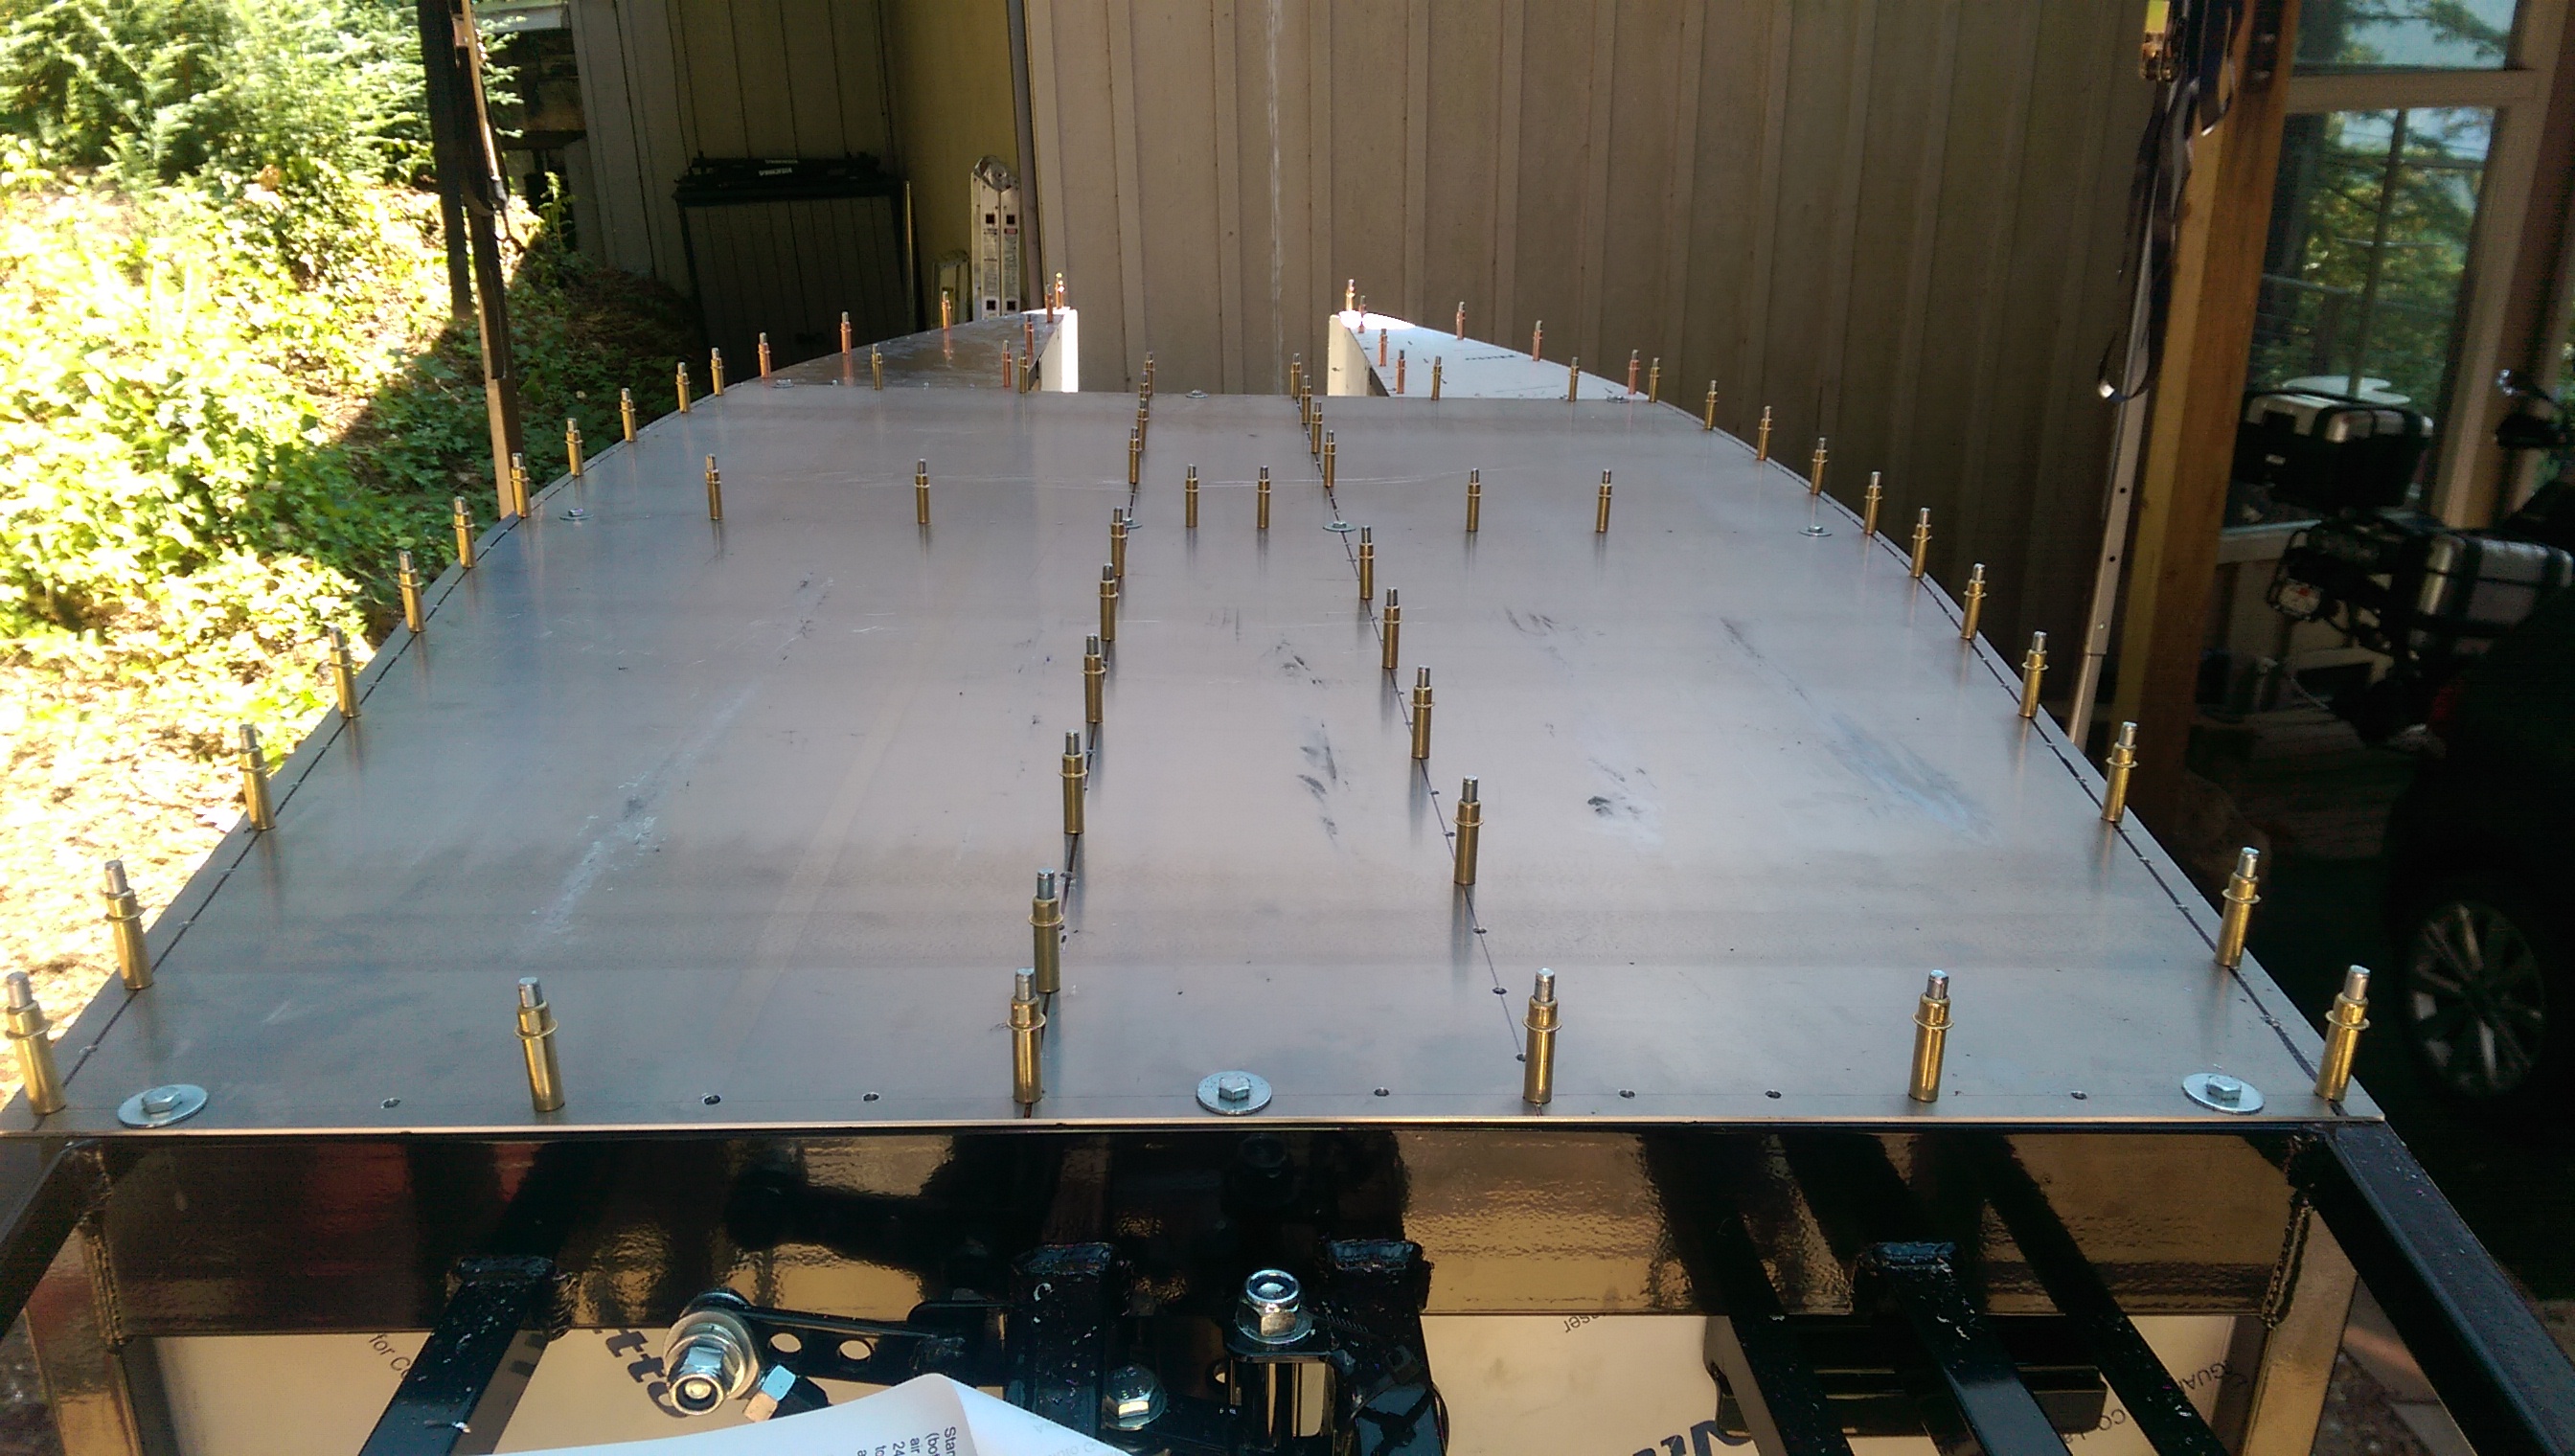
And after many, many hours of drilling, deburring, reaming, checking, etc, the job is done.